I kept hearing voices in our walls so I had to rip them open

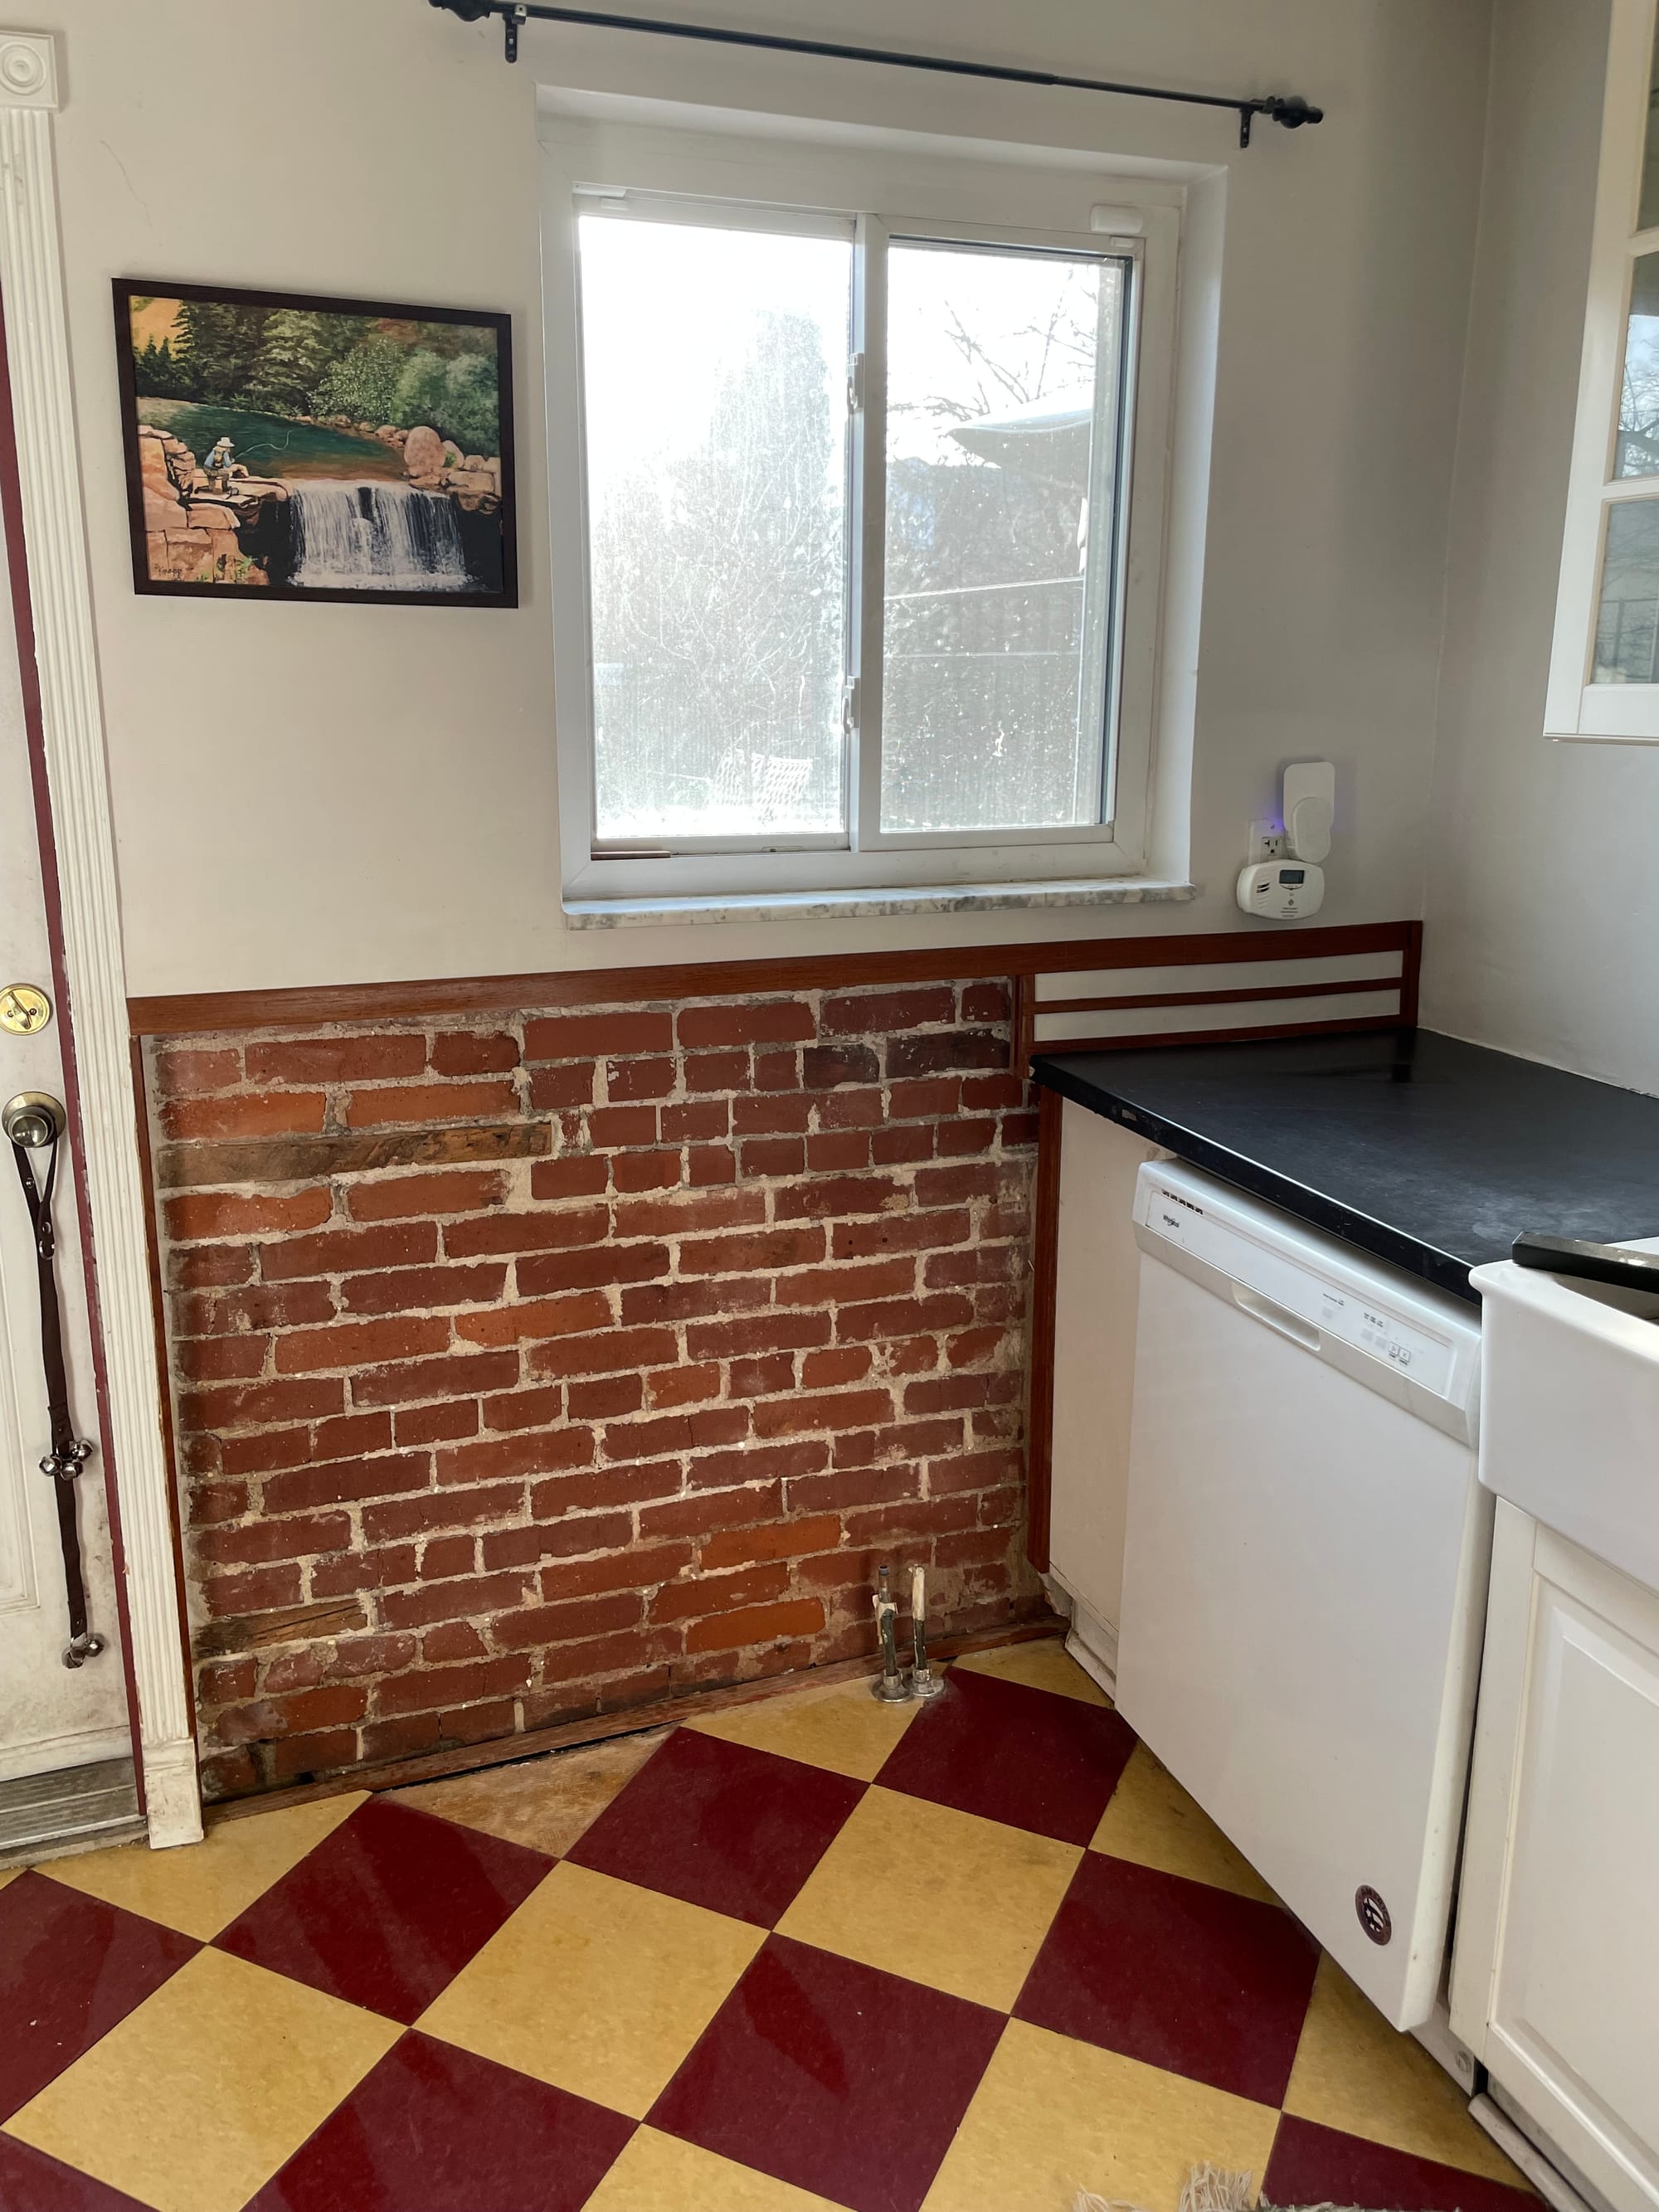
Our house was originally built in the 1890s and I think the kitchen was a later addition, but not exactly sure on that. One of the walls in the kitchen has been showing signs of water damage of some sort from day 1.
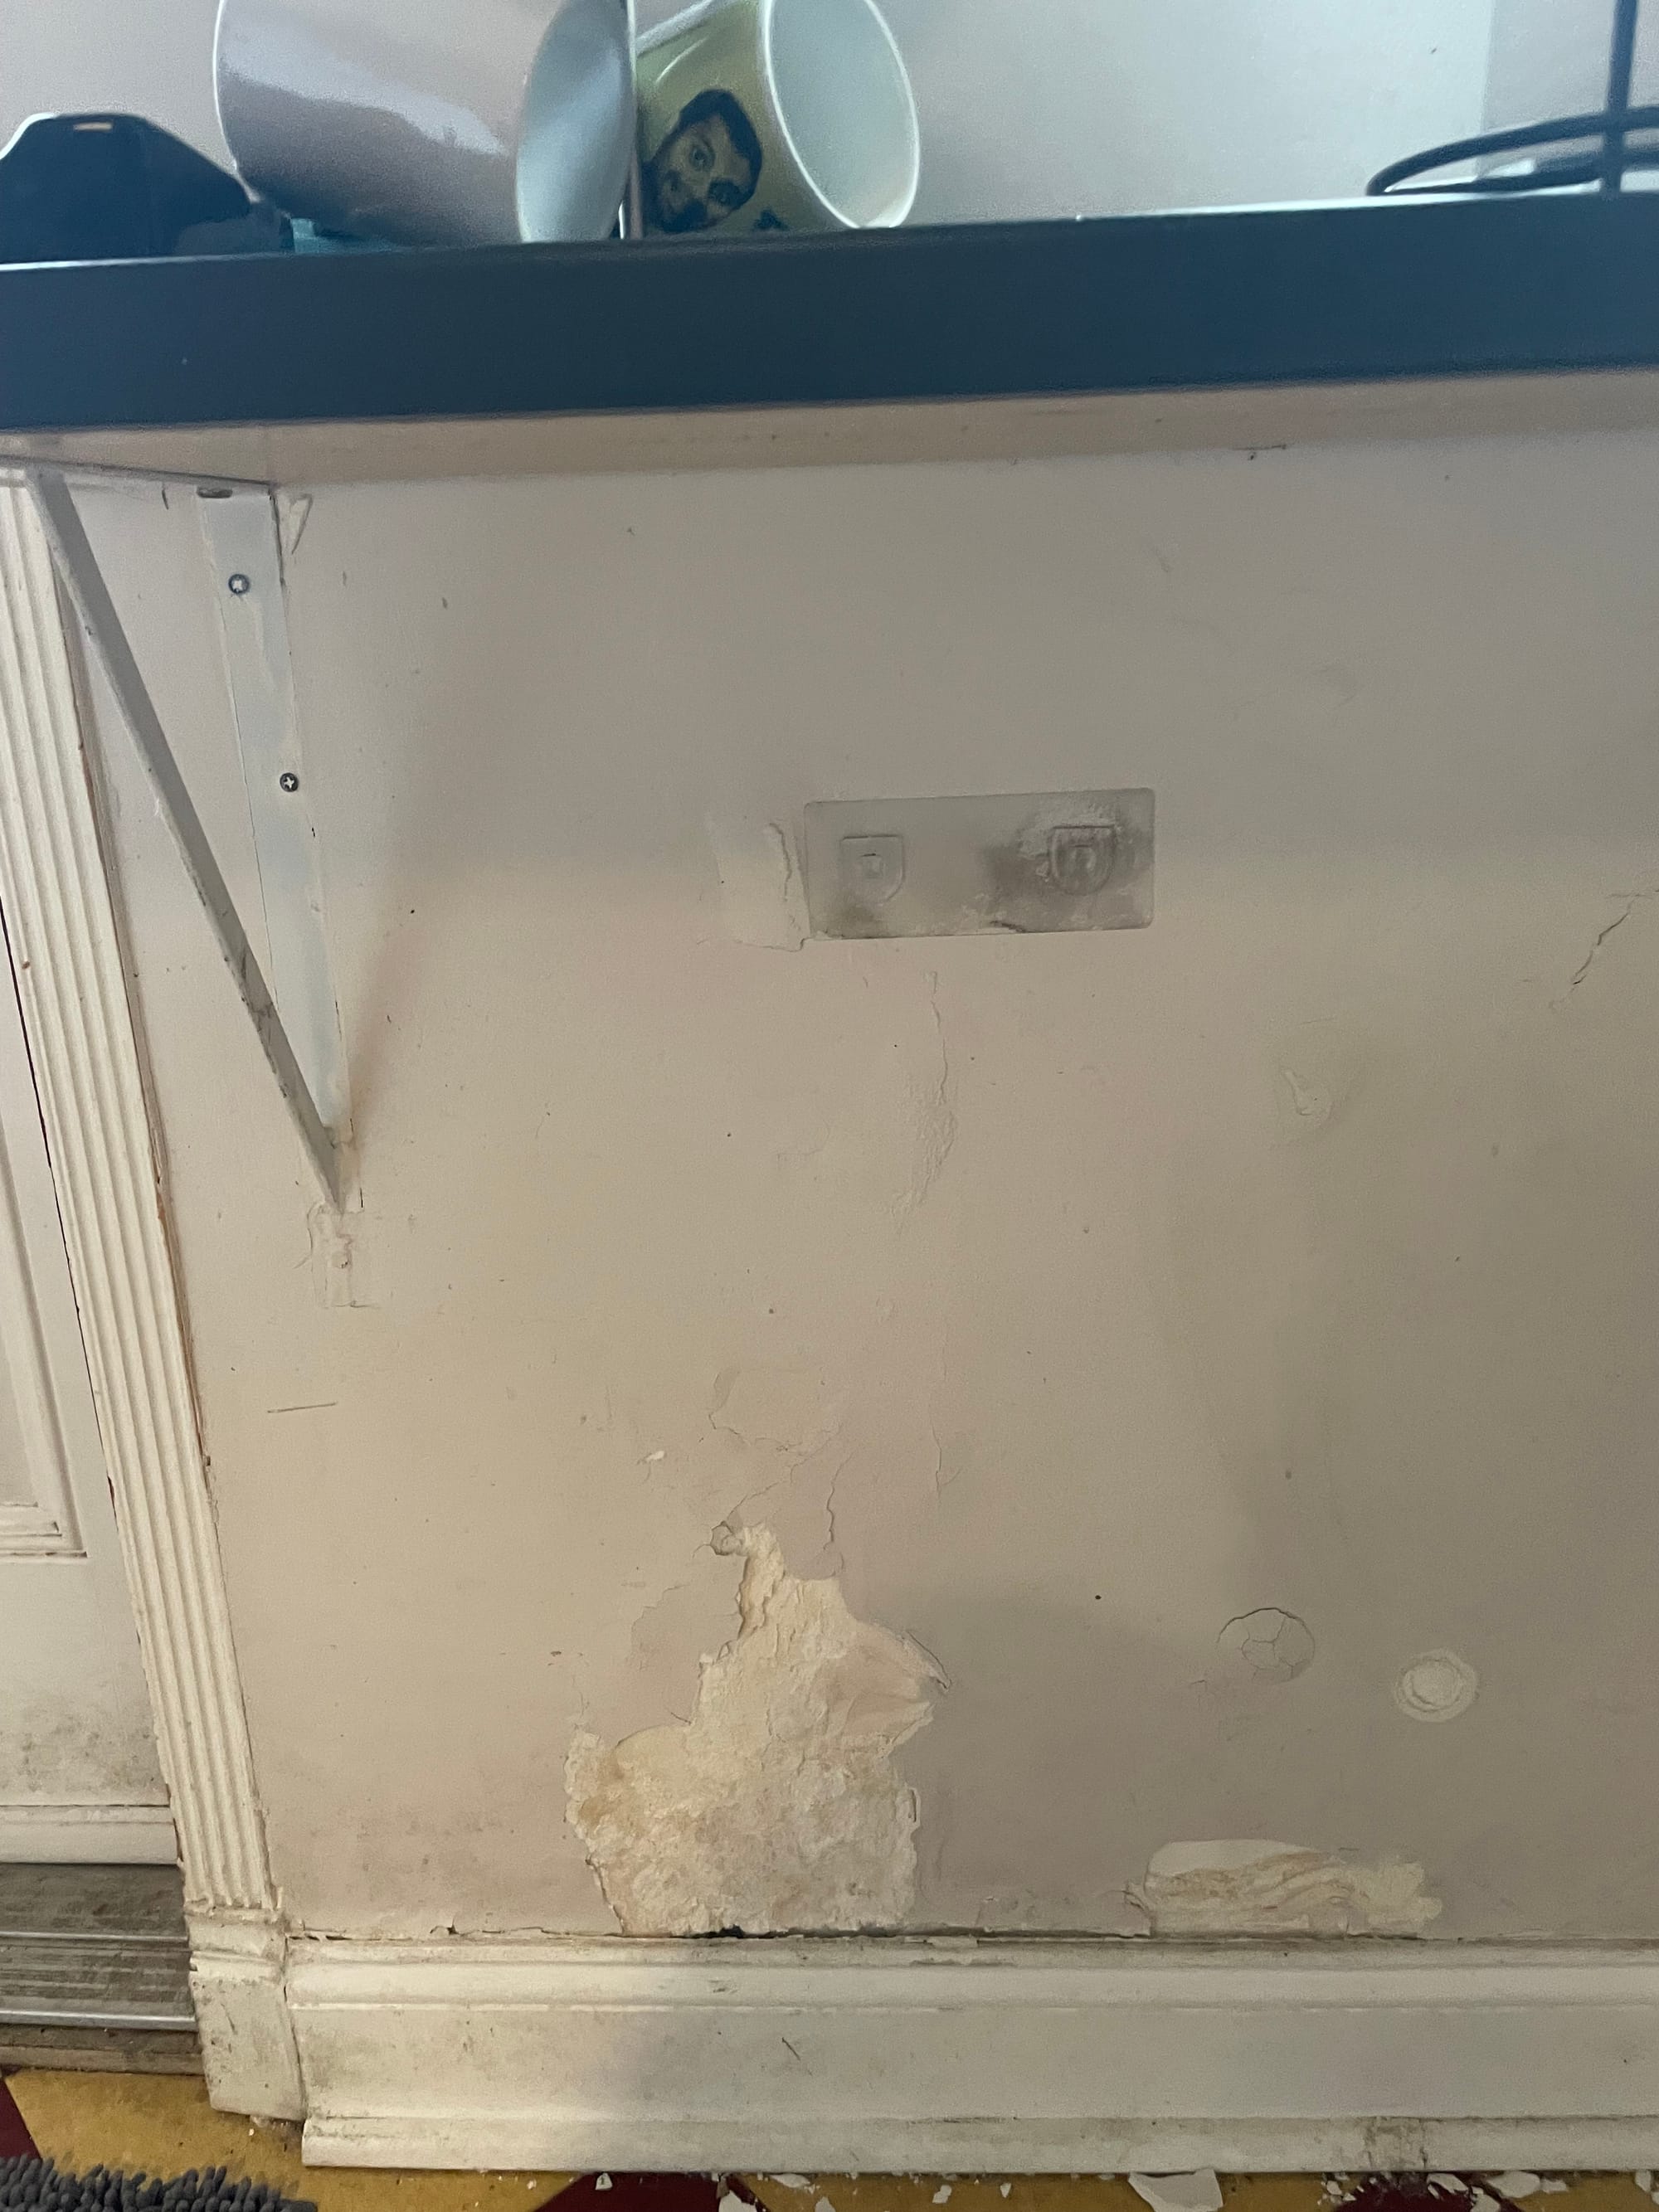
This was mostly just an eyesore for the first couple of years but lately the crumbling accelerated and every time we play fetch with our dog Meeko the ball would knock off a few more crumbs.
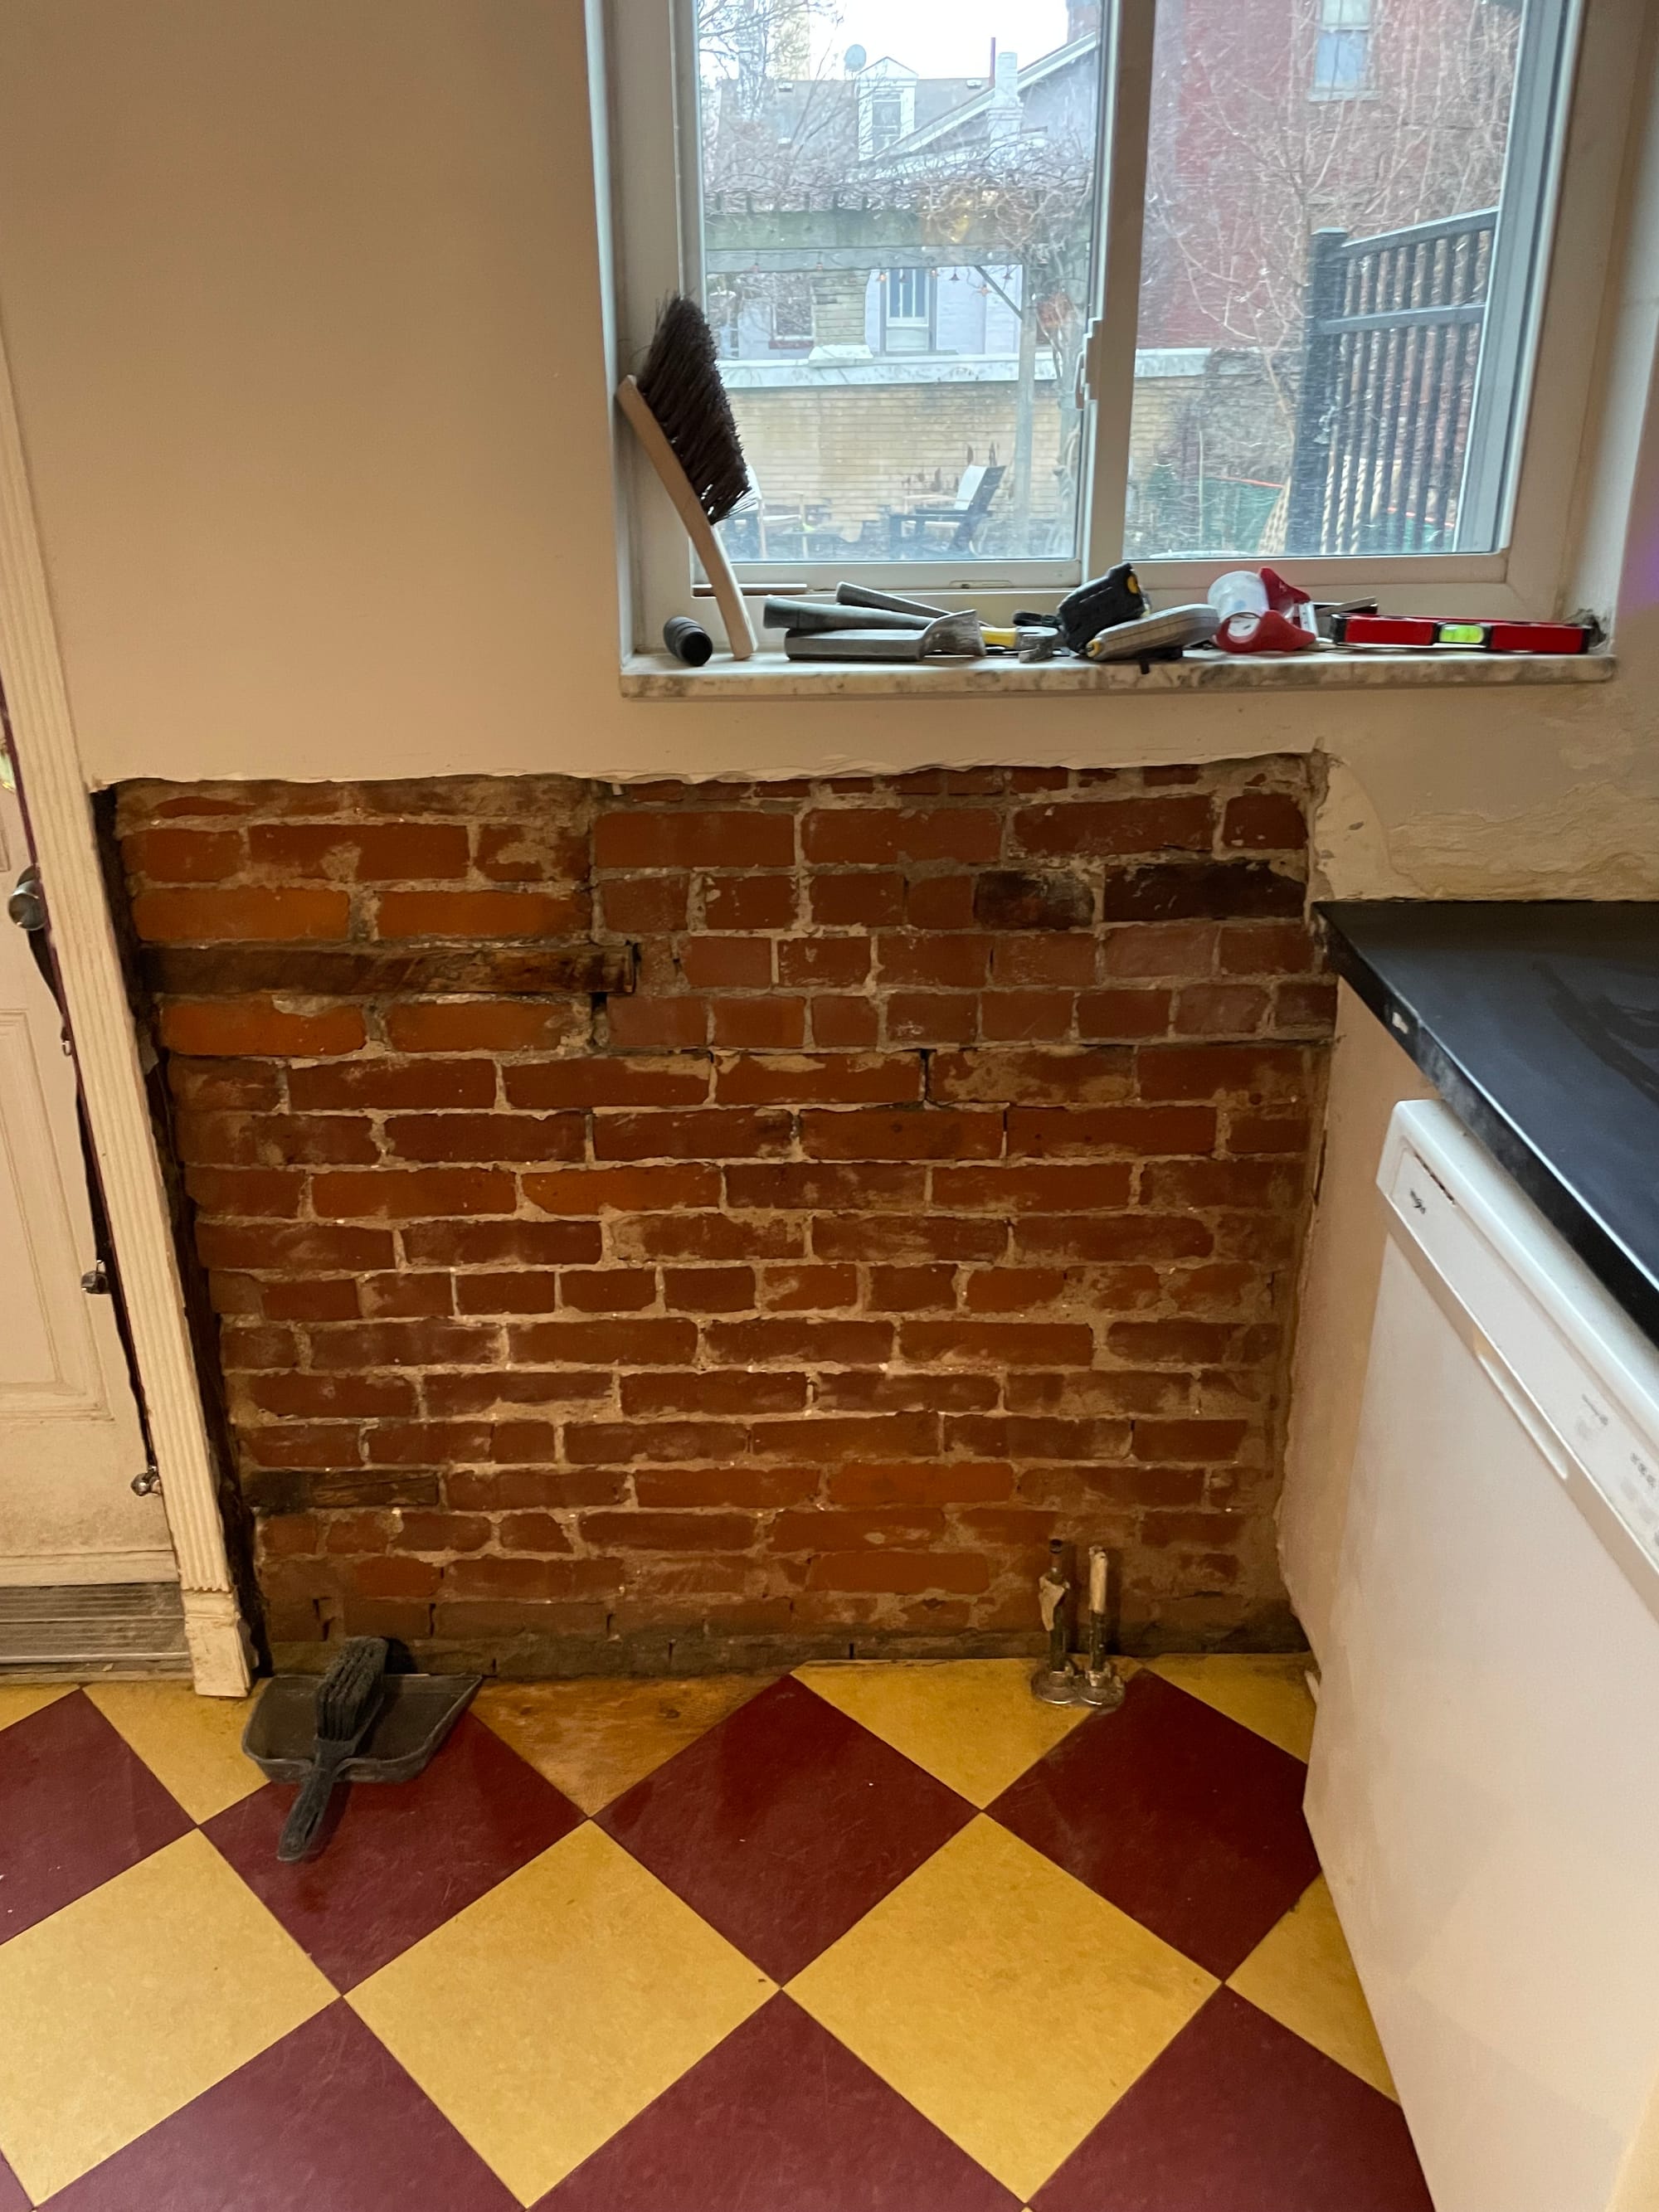
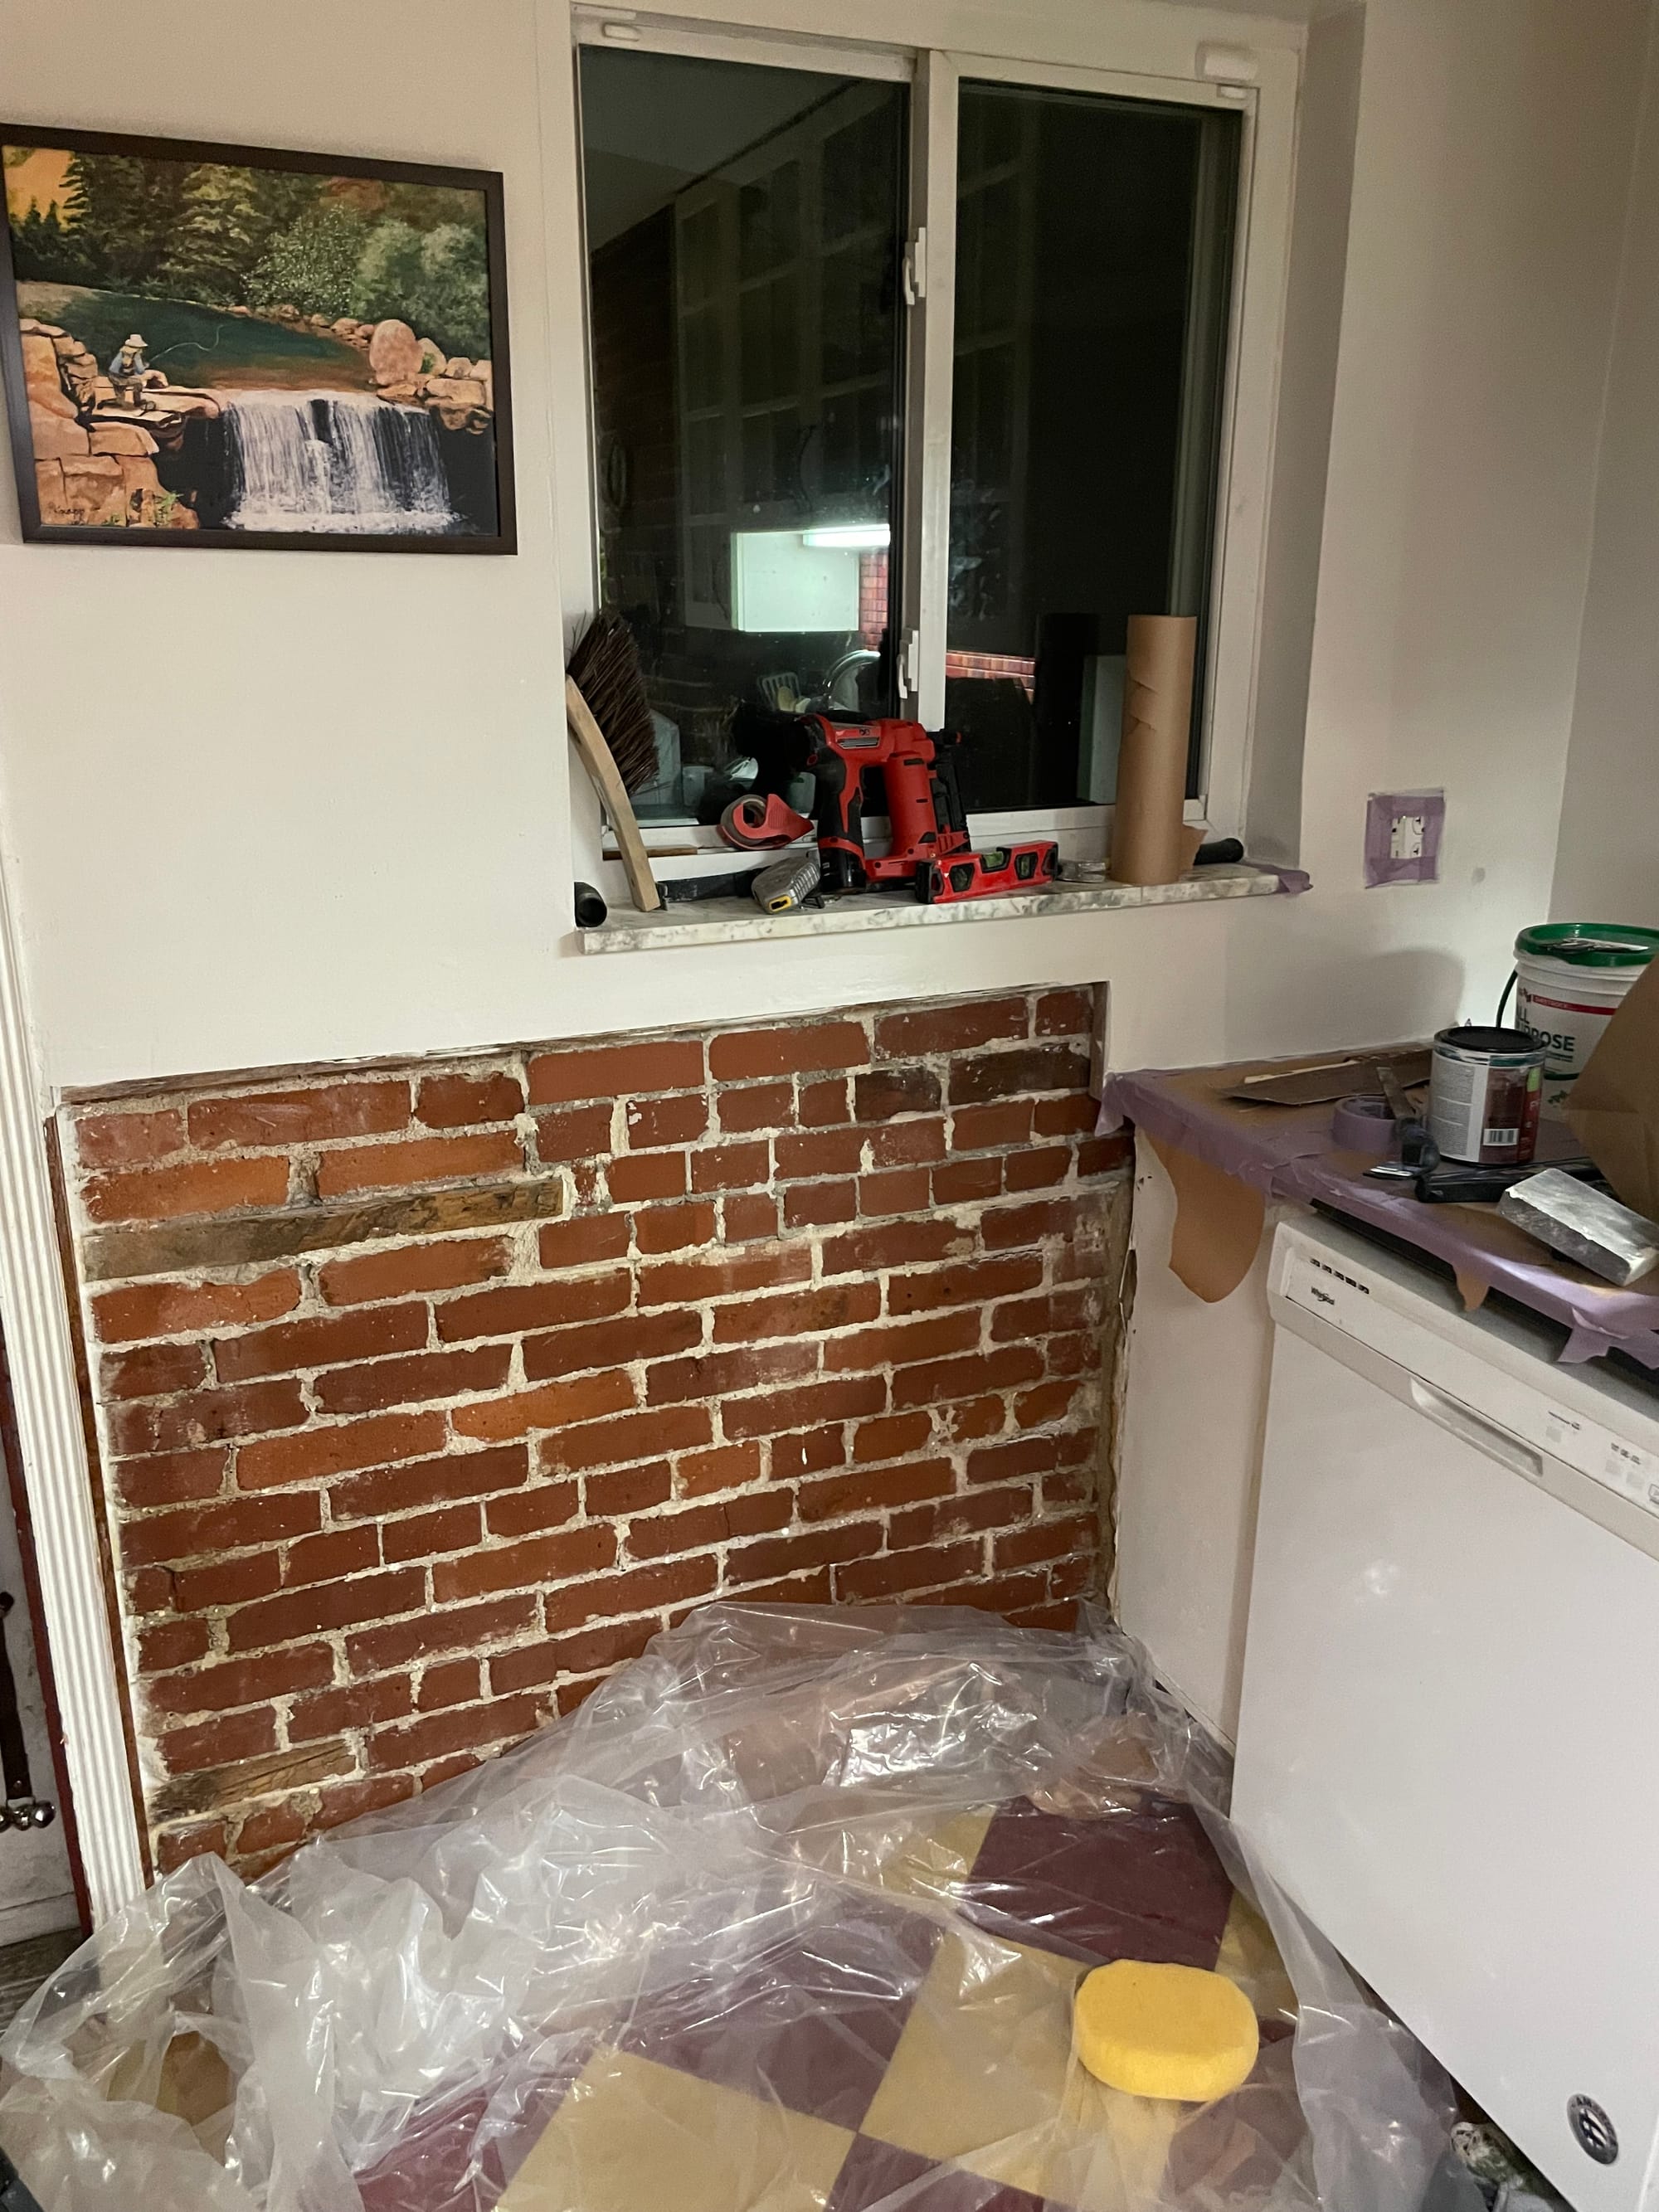
I originally tried to get a contractor of some sort to fix this but got no answers back from Angie's List contractors and this being such an old house my theory was that the wall had likely been patched up a few times before. So there were probably layers of sin being covered up and I didn't just want to patch it in a way that the problem would show up again in a few years again. So I figured what's the worst damage I could do and started picking away at it like a hang nail:
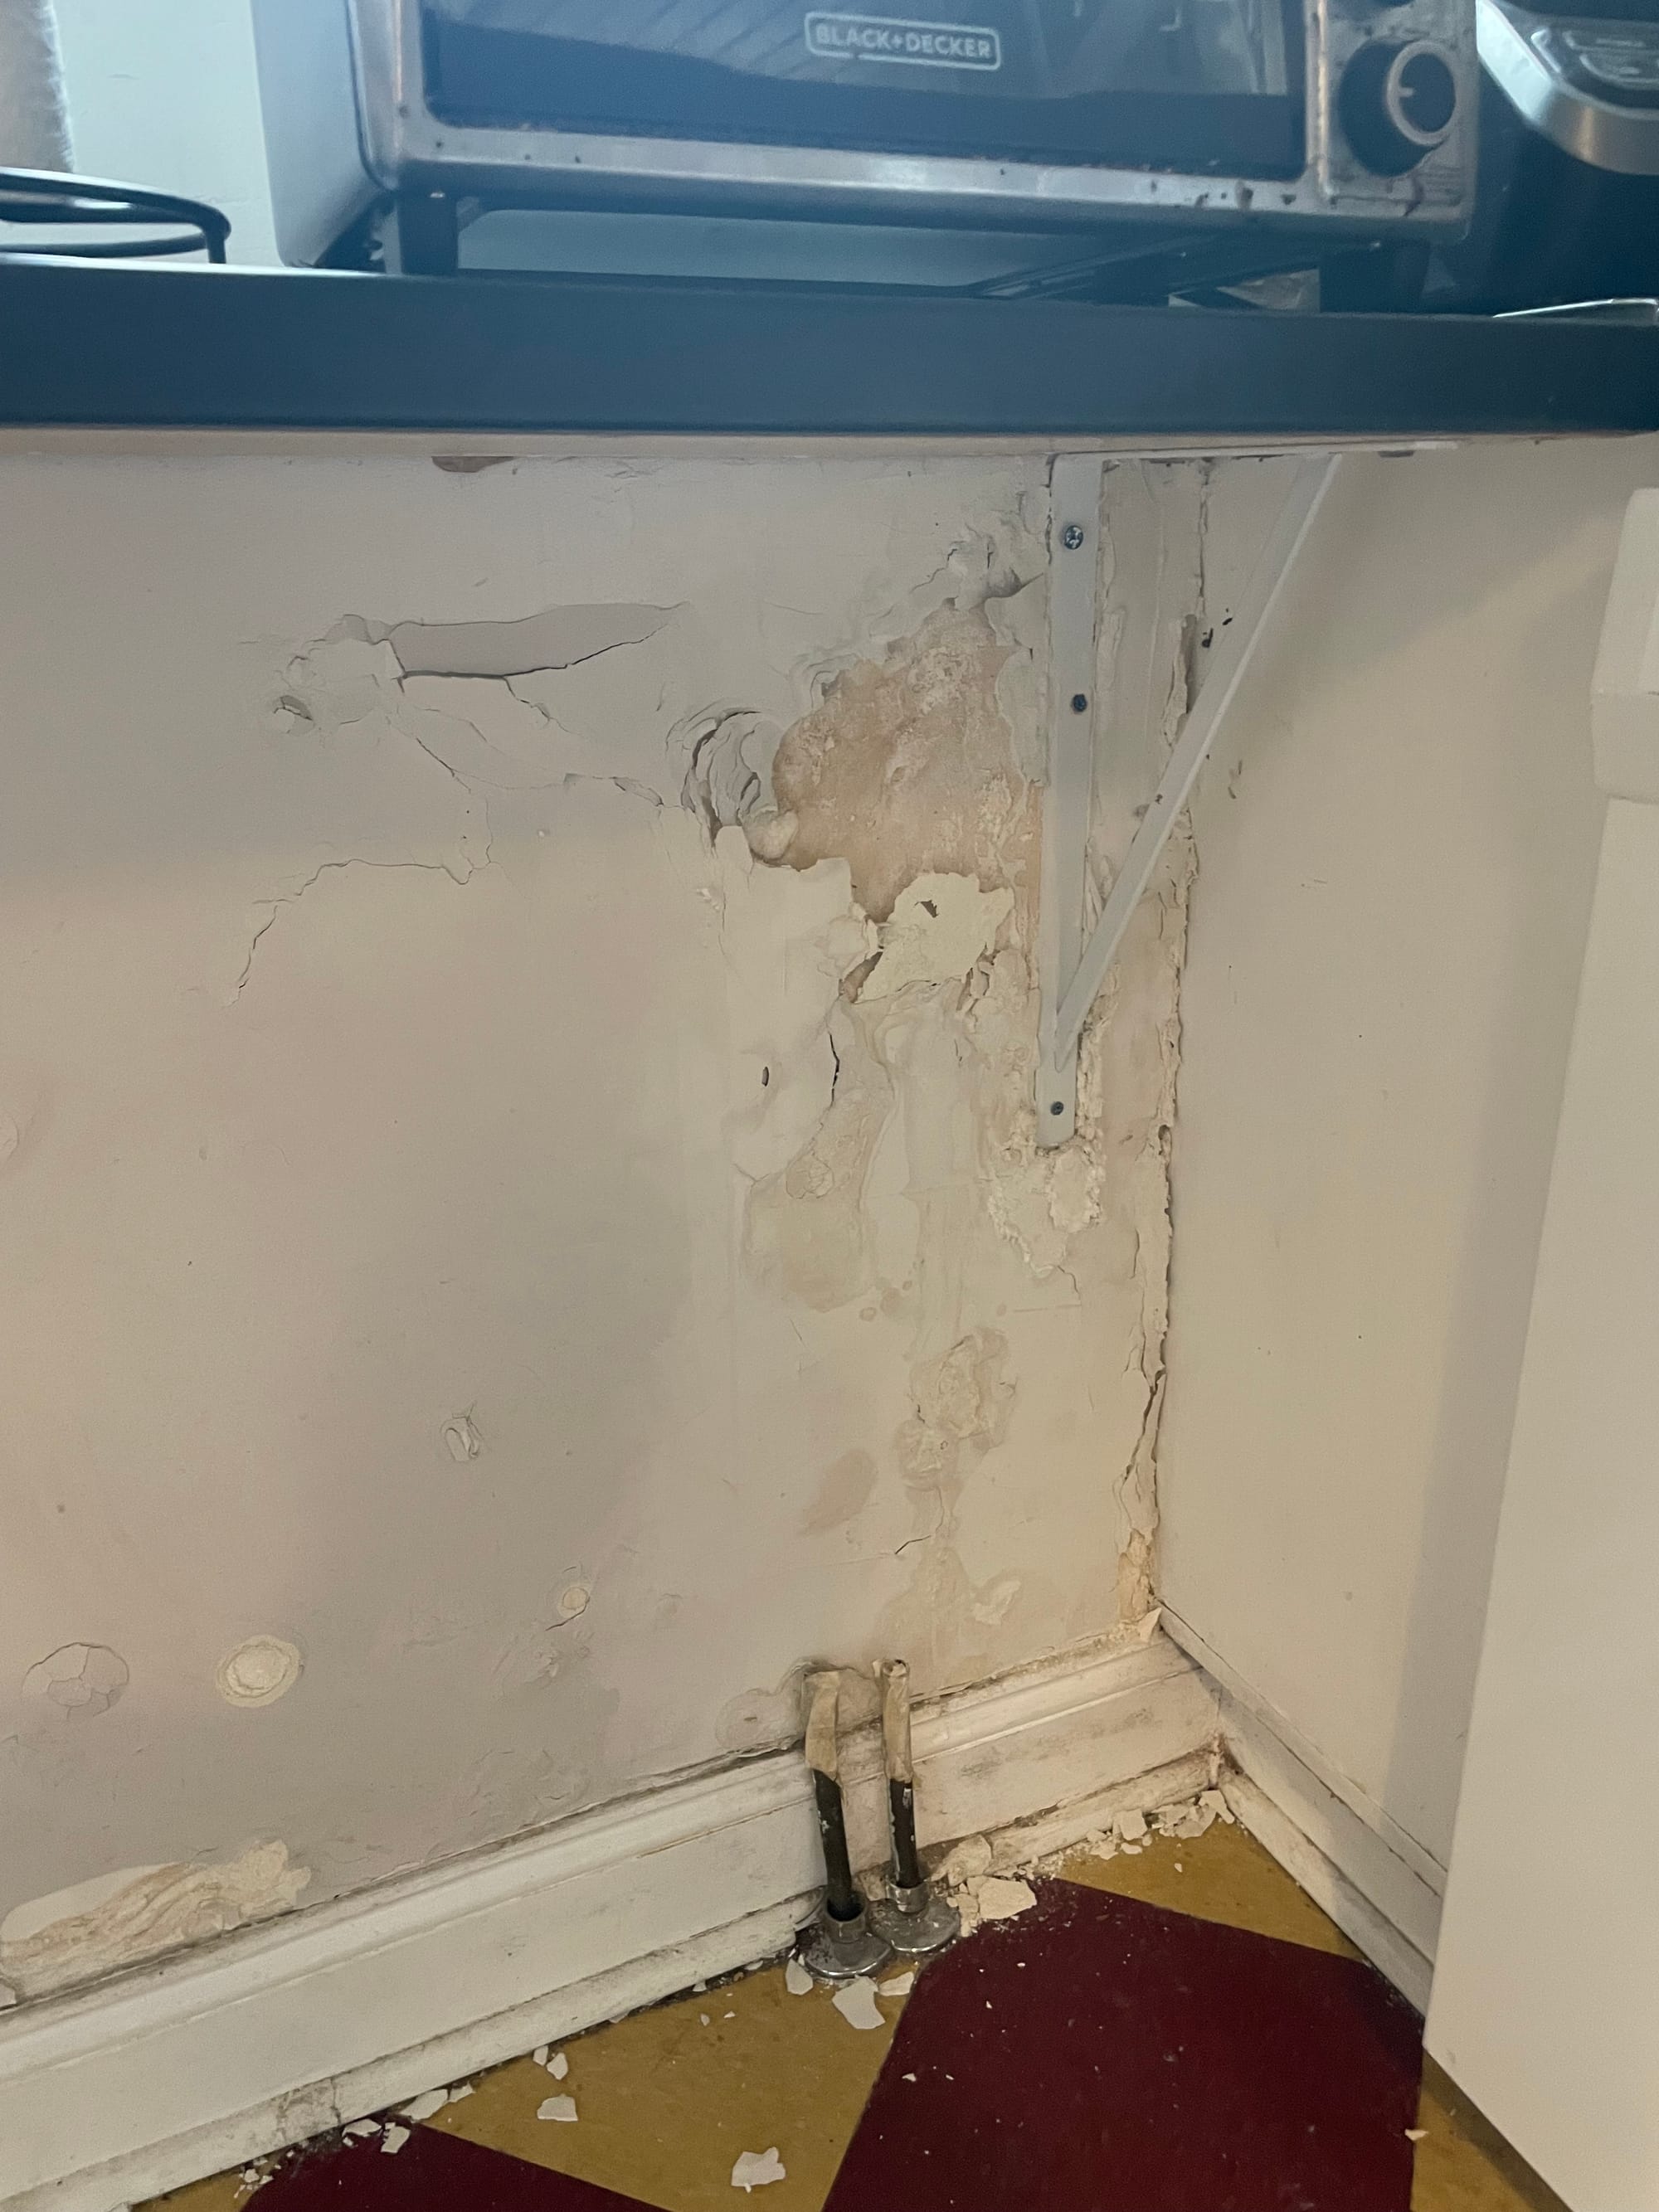
Things escalated pretty quickly as I picked through the upper crust and found it too easy to keep picking through. You can see a layer of mortar on top of the original brick that seems to be permeated with water. On top of that was a layer of what I assume is plaster, followed by another layer of a metal mesh, covered by more plaster or mortar or joint compound. Followed by a layer of paint, then more plaster/joint compound and then the final layer of paint.
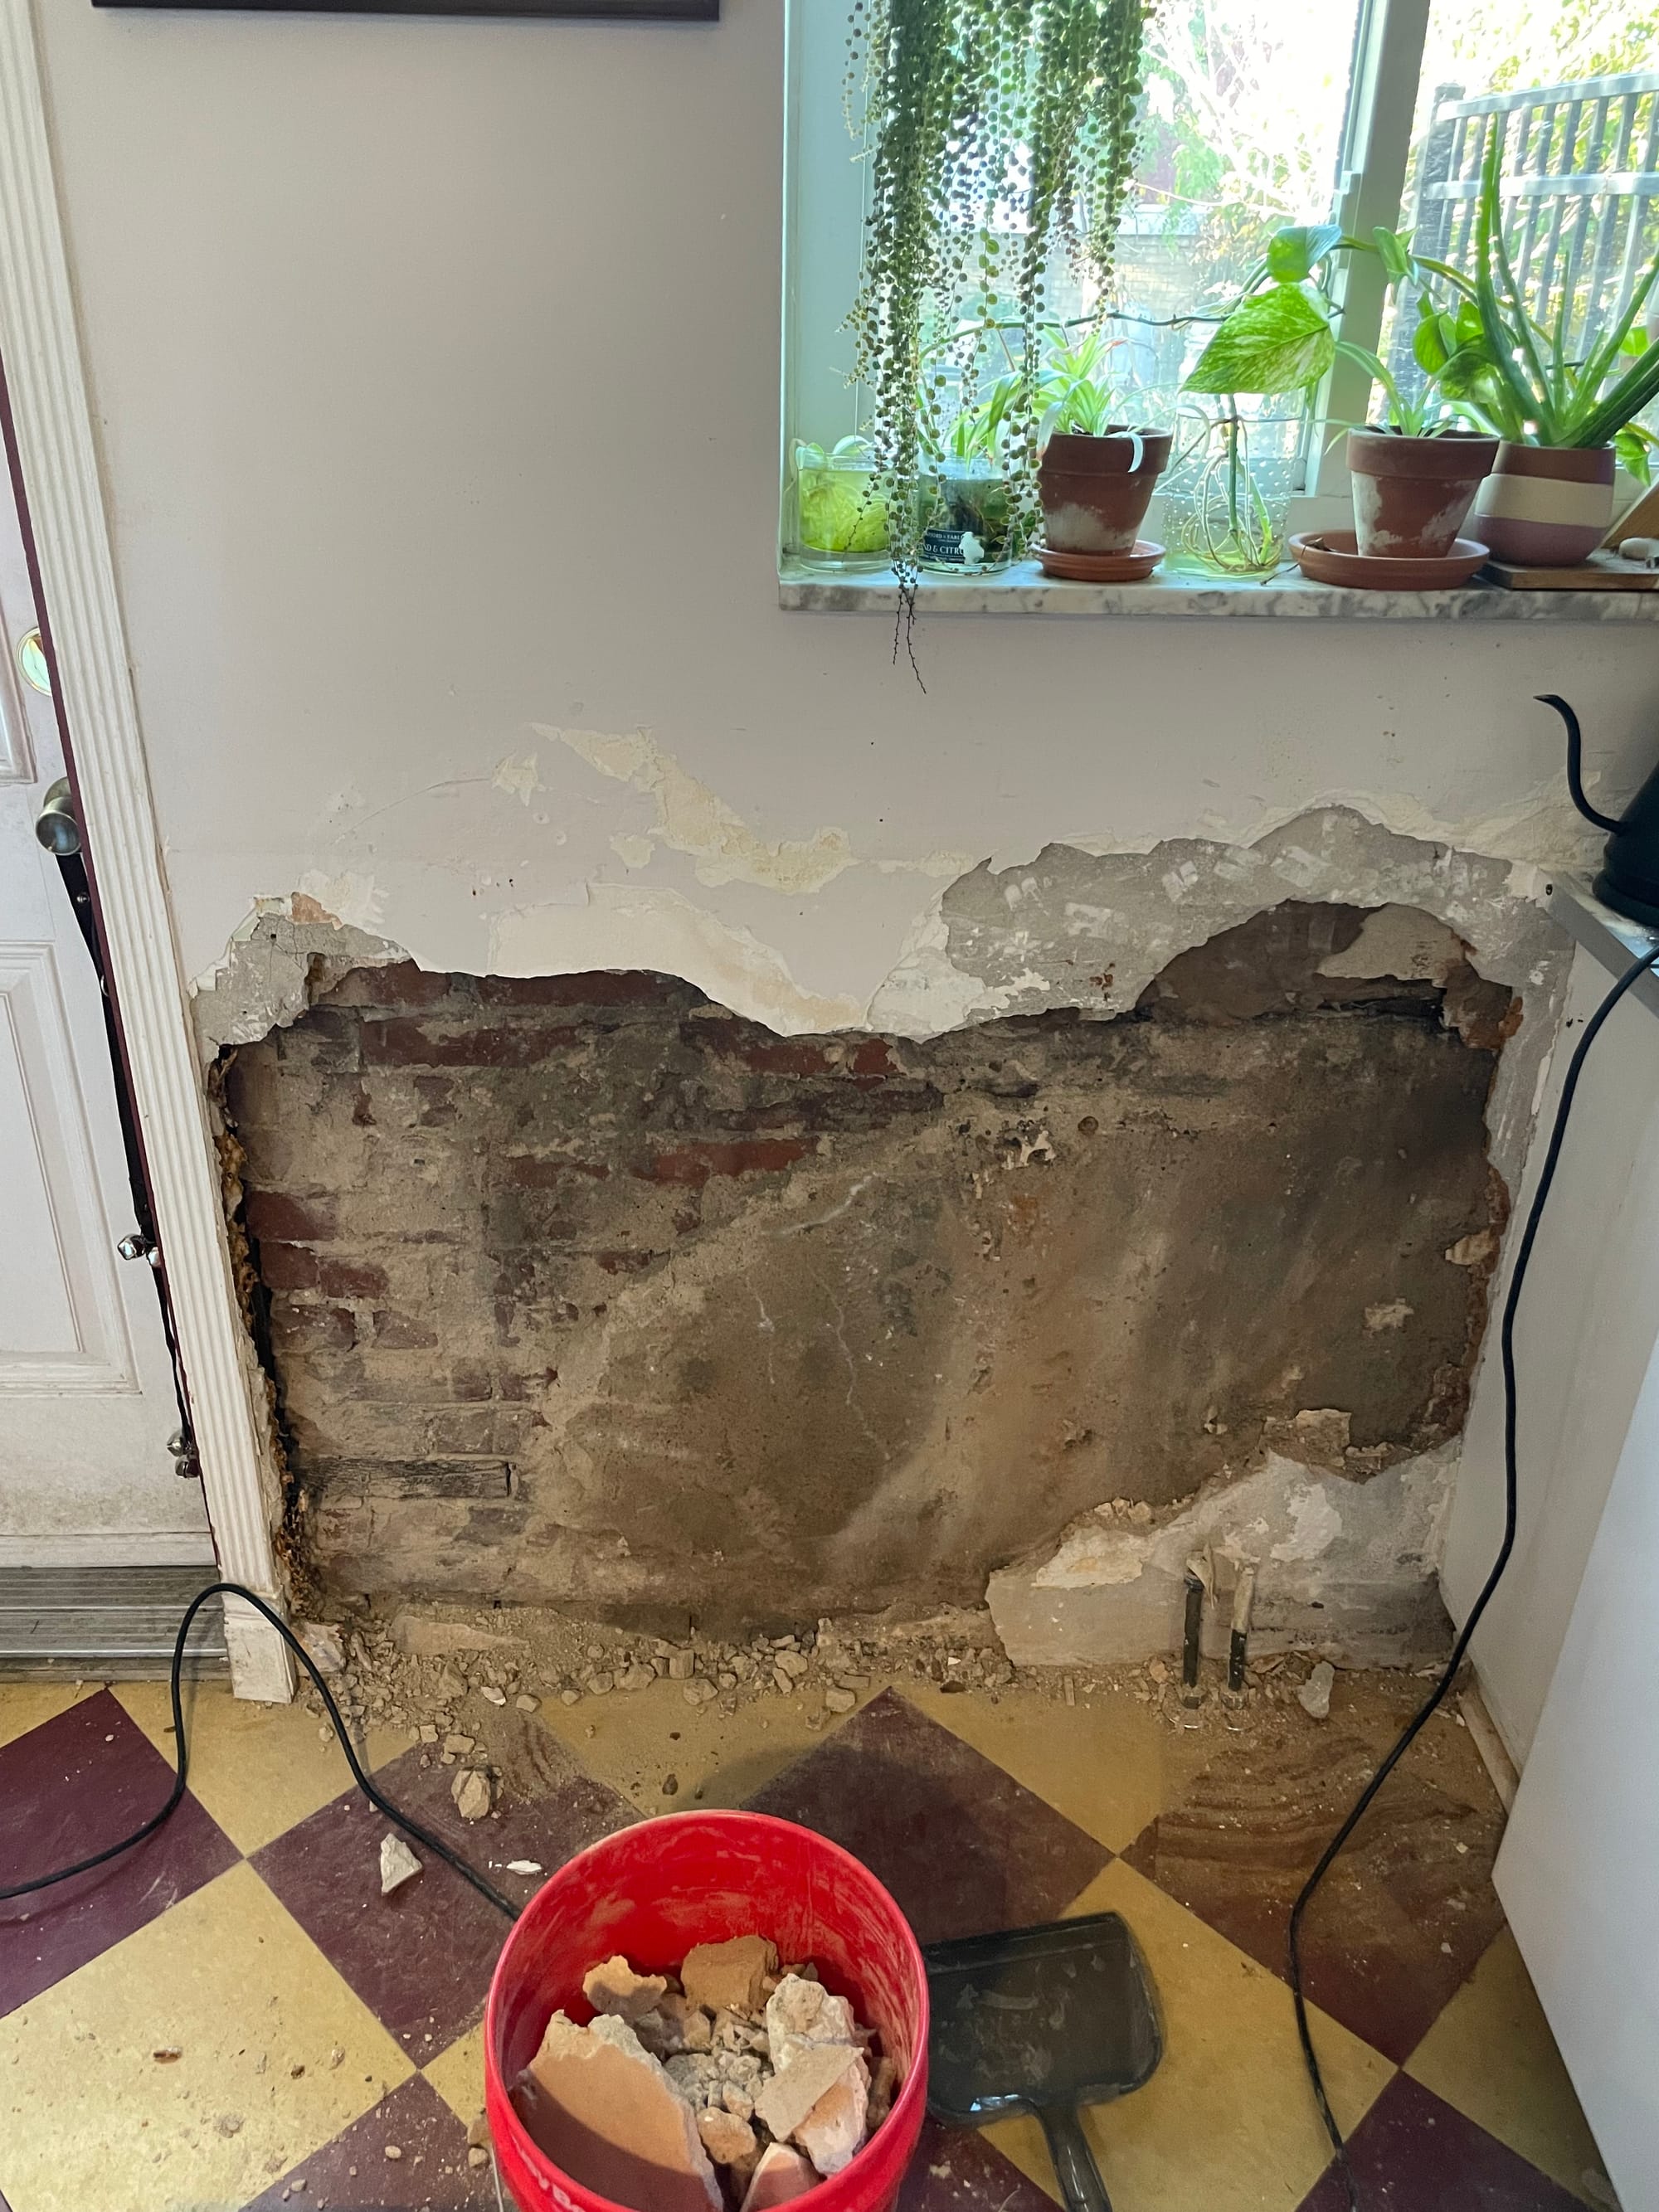
I kept picking because I reasoned that I'd want to fix any source of water ingress and the only real culprit I found was a corner of a window that I was able to patch. My other theory was that brick walls should be able to breathe and sealing this outer wall in all of these layers was allowing moisture to permeate through the brick but not through the upper layers, causing moisture build up and eventually the top layer damage. But hey I'm no rocket scientist, this was all just vibes based. In the end the rest of the project really was dictated by aesthetic as once the brick was exposed, I thought it looked really pretty and wanted to keep it exposed - convincing myself that letting it breathe was the best path forward.
I was able to elbow grease my way to chipping off the many layers with the last mortar directly on brick being the toughest to really clean up well. I ended up taking a plastic stripping wheel on an angle grinder to face clean up all the brick. I worked with a full face mask and jumpsuit, with a dust shroud + shop vac hose attachment for dust control on the grinder and I worked in a dust barrier I got off of Vevor. EVEN SO the amount of dust produced that leaked out into the house was unbelievable and would set off fire alarms on the floor above. I eventually got a good setup going with the kitchen door open, all windows open and a big fan pointed directly at the dust barrier and out the kitchen door.
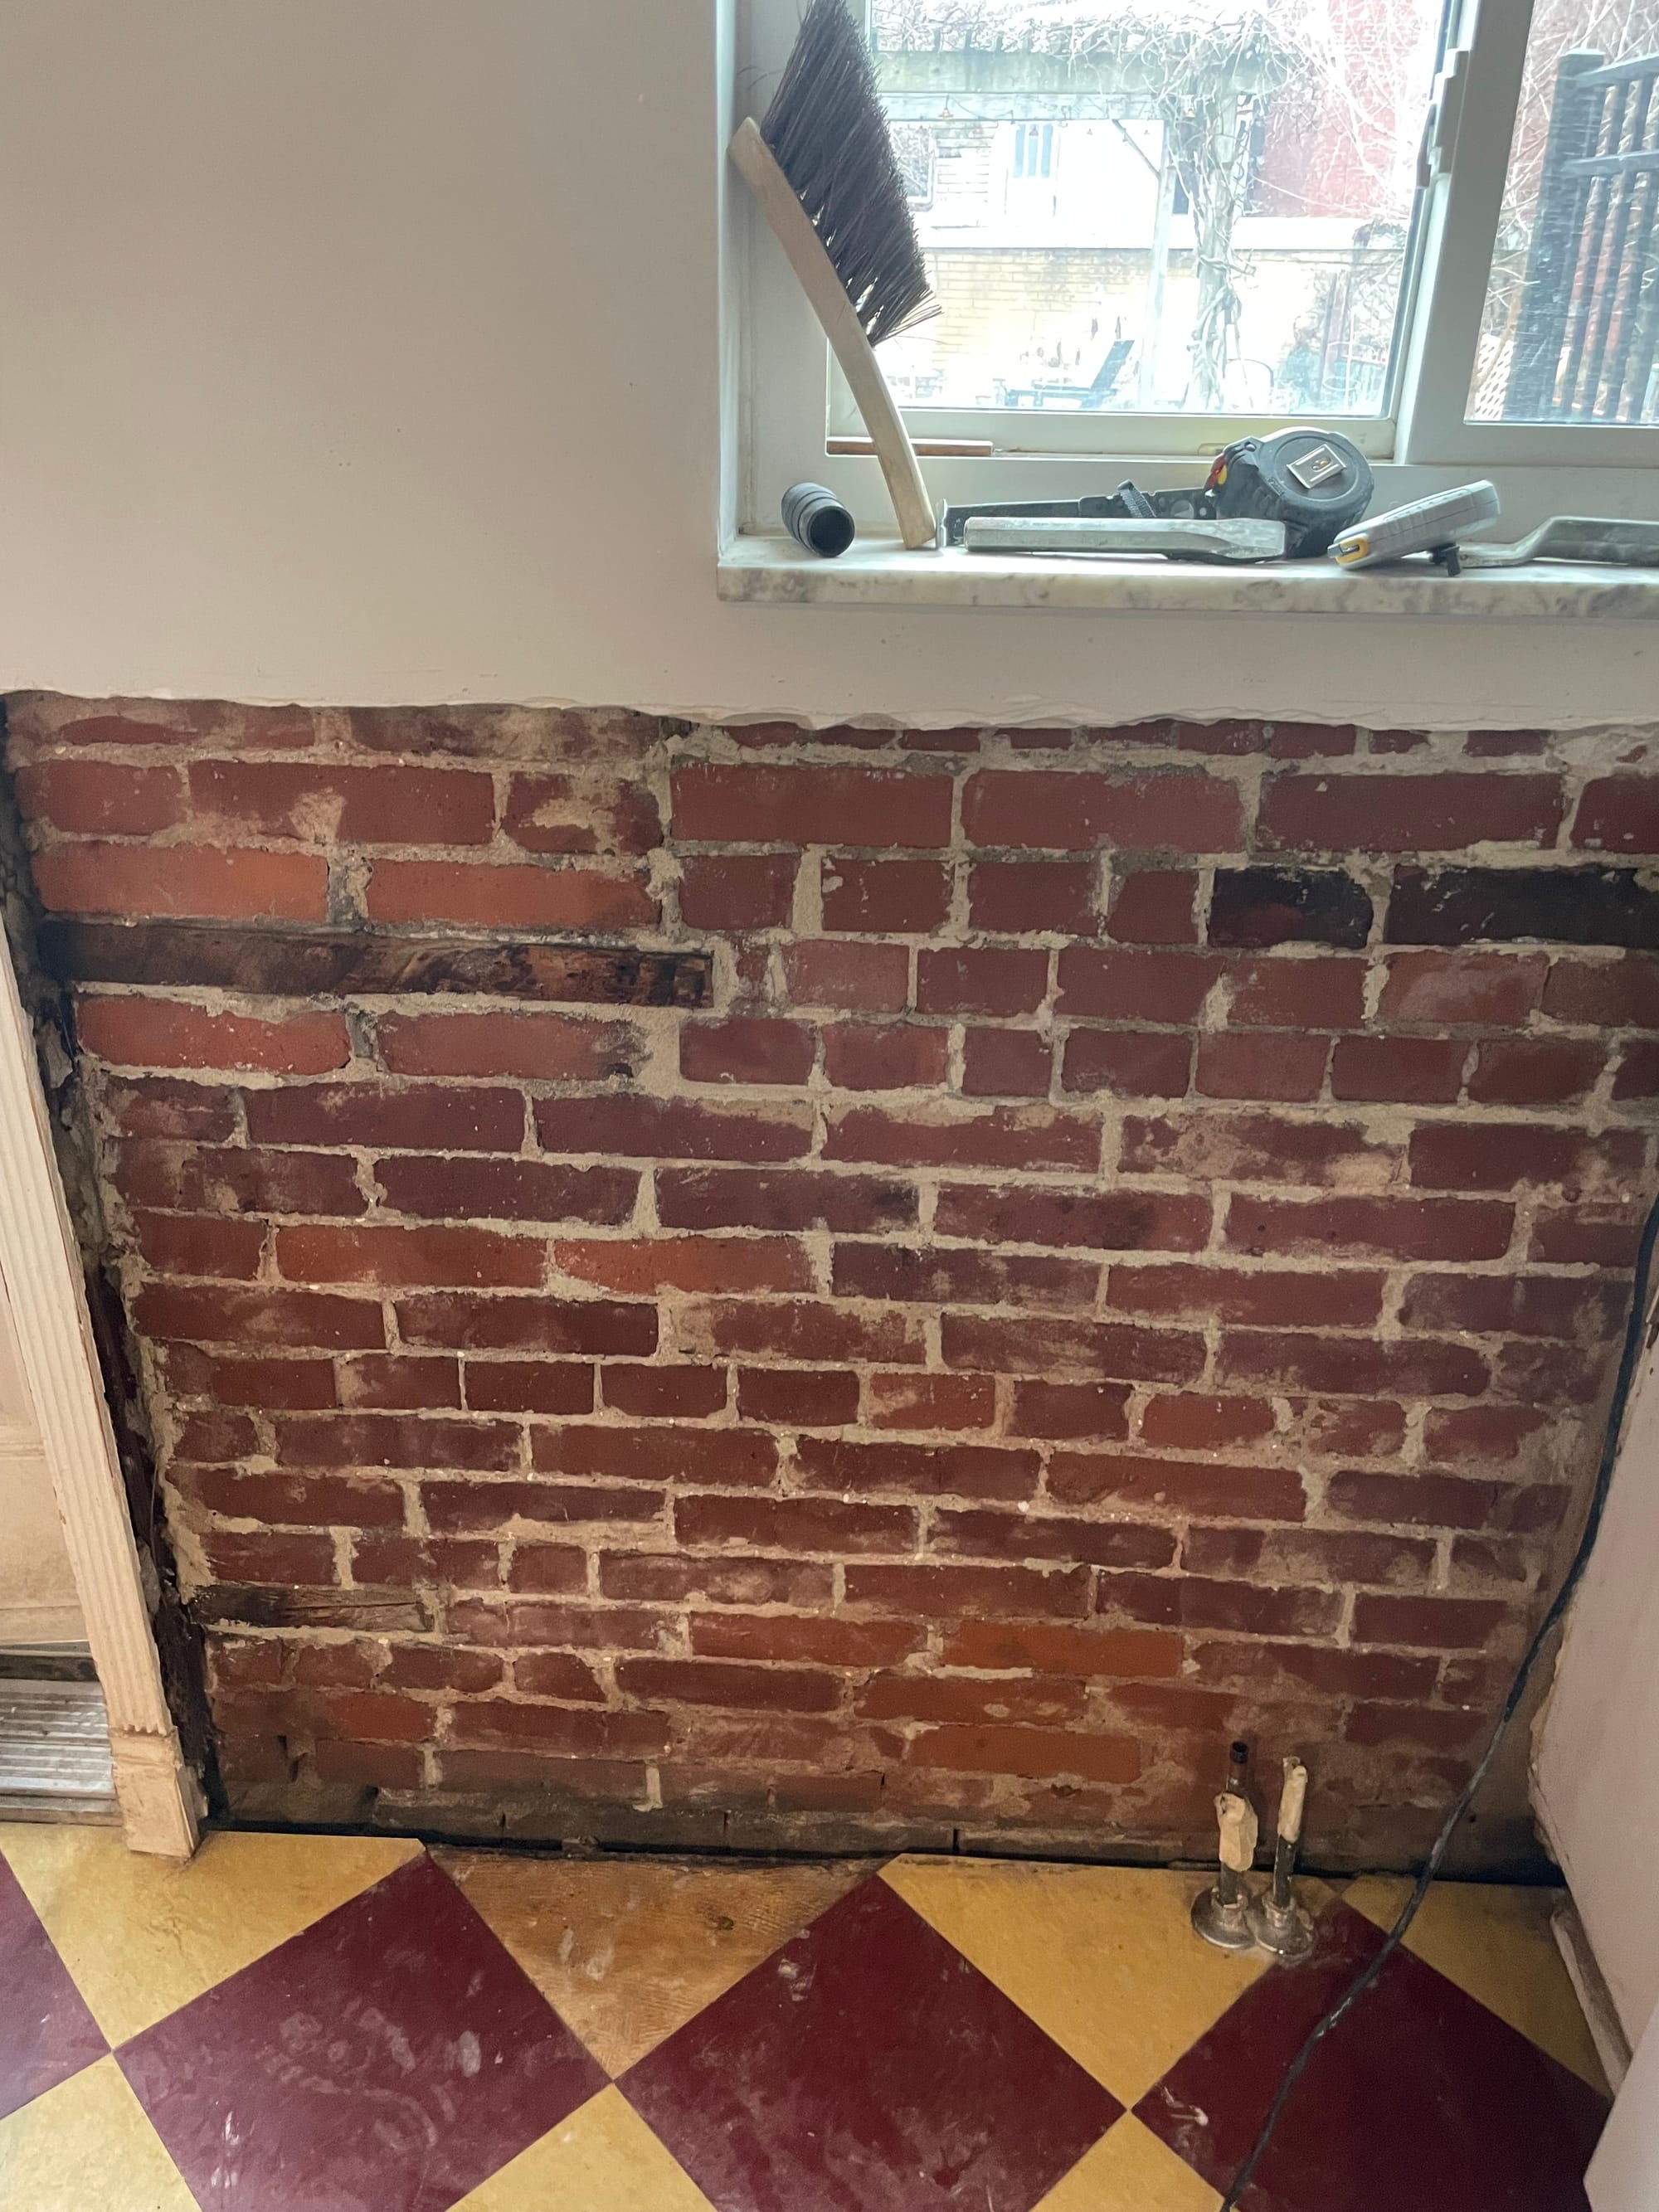
Then I tackled the gaps in the old brick wall that I had just exposed. Since this was a pretty minimal repointing and not hugely structural i.e. not removing the brick and repointing it entirely I didn't really feel like sending a sample of the mortar out and getting an exact lime mortar match - I just ended up getting a bag of Ecologic Mortar off of LimeWorks.us and a bunch of brick working tools as well. Now it's my first time repointing and it's no professional job where I tore out all the old mortar in between the bricks but remember I'm an amateur handy man. I was fairly happy with how the repointing turned out it really felt like night and day between what was there before and the after. However I wasn't entirely happy with the brick finish and the obvious overflow places where the mortar is getting "out of line". A lot of these just cleaned up easily by hand brushing but I wanted to take it a step further, so I started researching brick cleaning treatments.
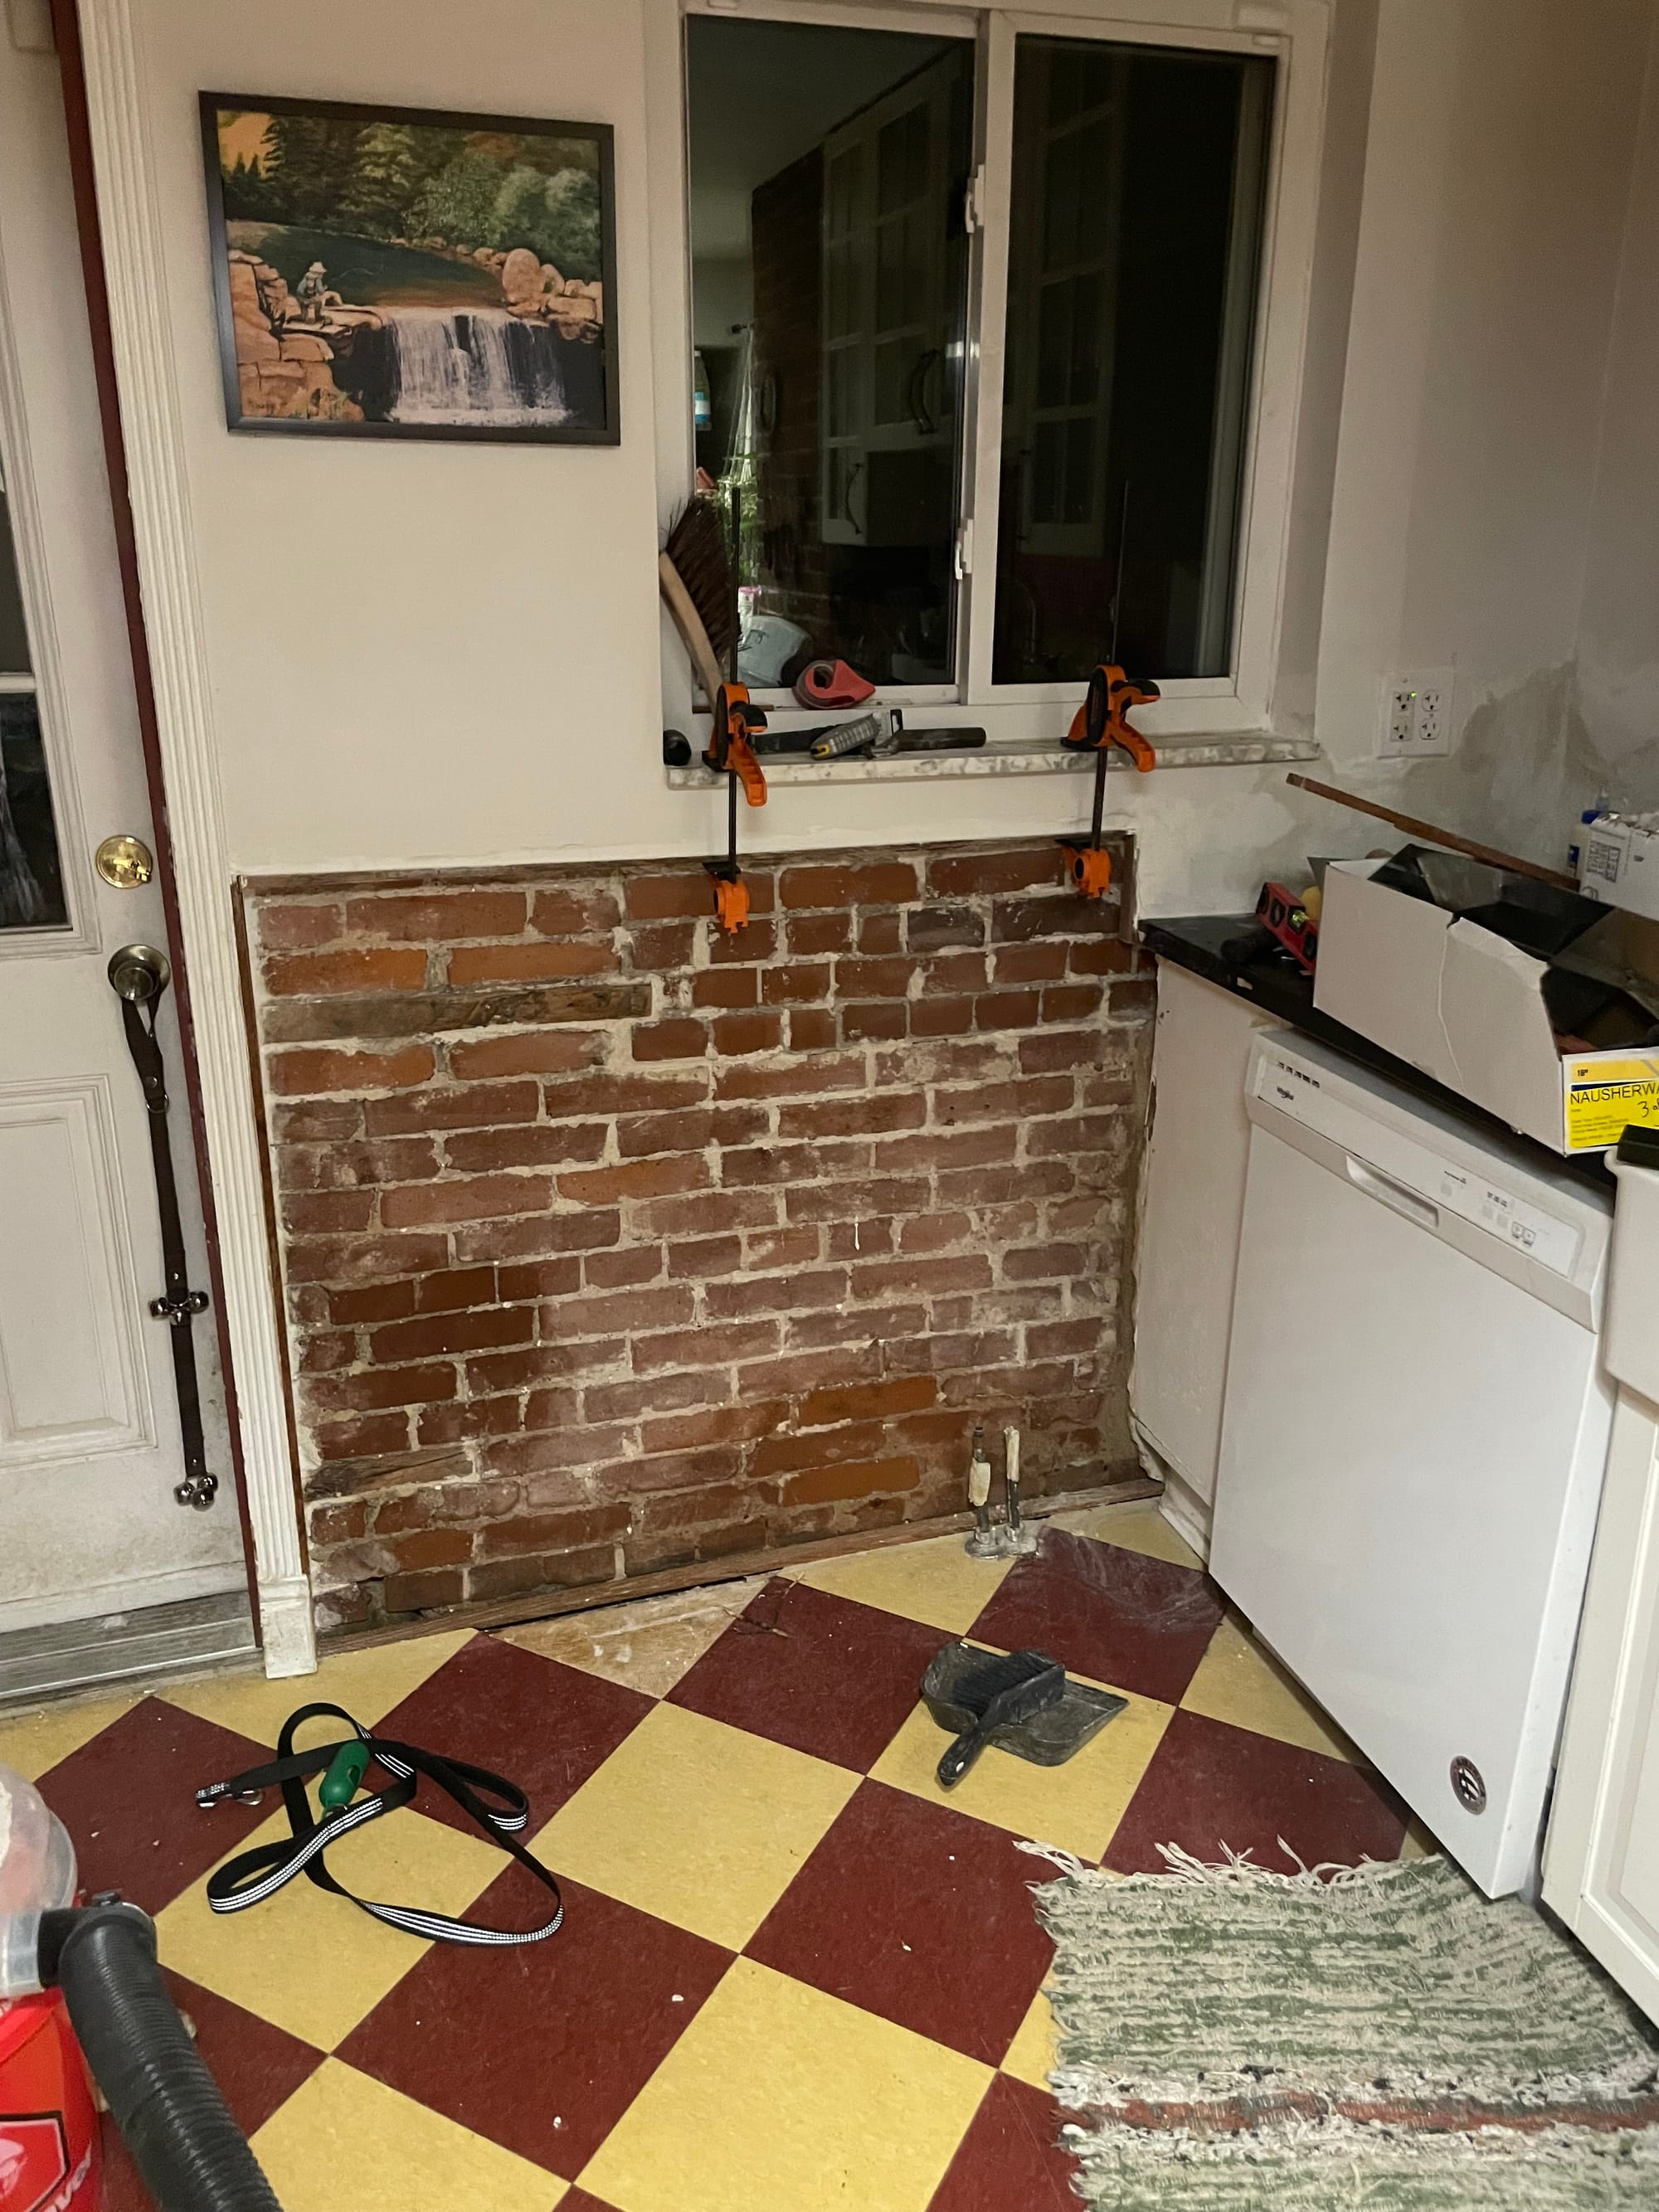
While I researched and decided on a brick cleaning methodology, I pulled out some old Cumaru wood stock I had laying around and "framed" the exposed edges of wall in order to fill in any gaps. I contributed a little bit to the sins of time here I think by just using Durabond 90 to do the majority of the infill work but ahhhhh it'll be fine and if not it's a project for another day. Not sure what I'd go for as a replacement, would it be literally plaster of paris? Who knows.
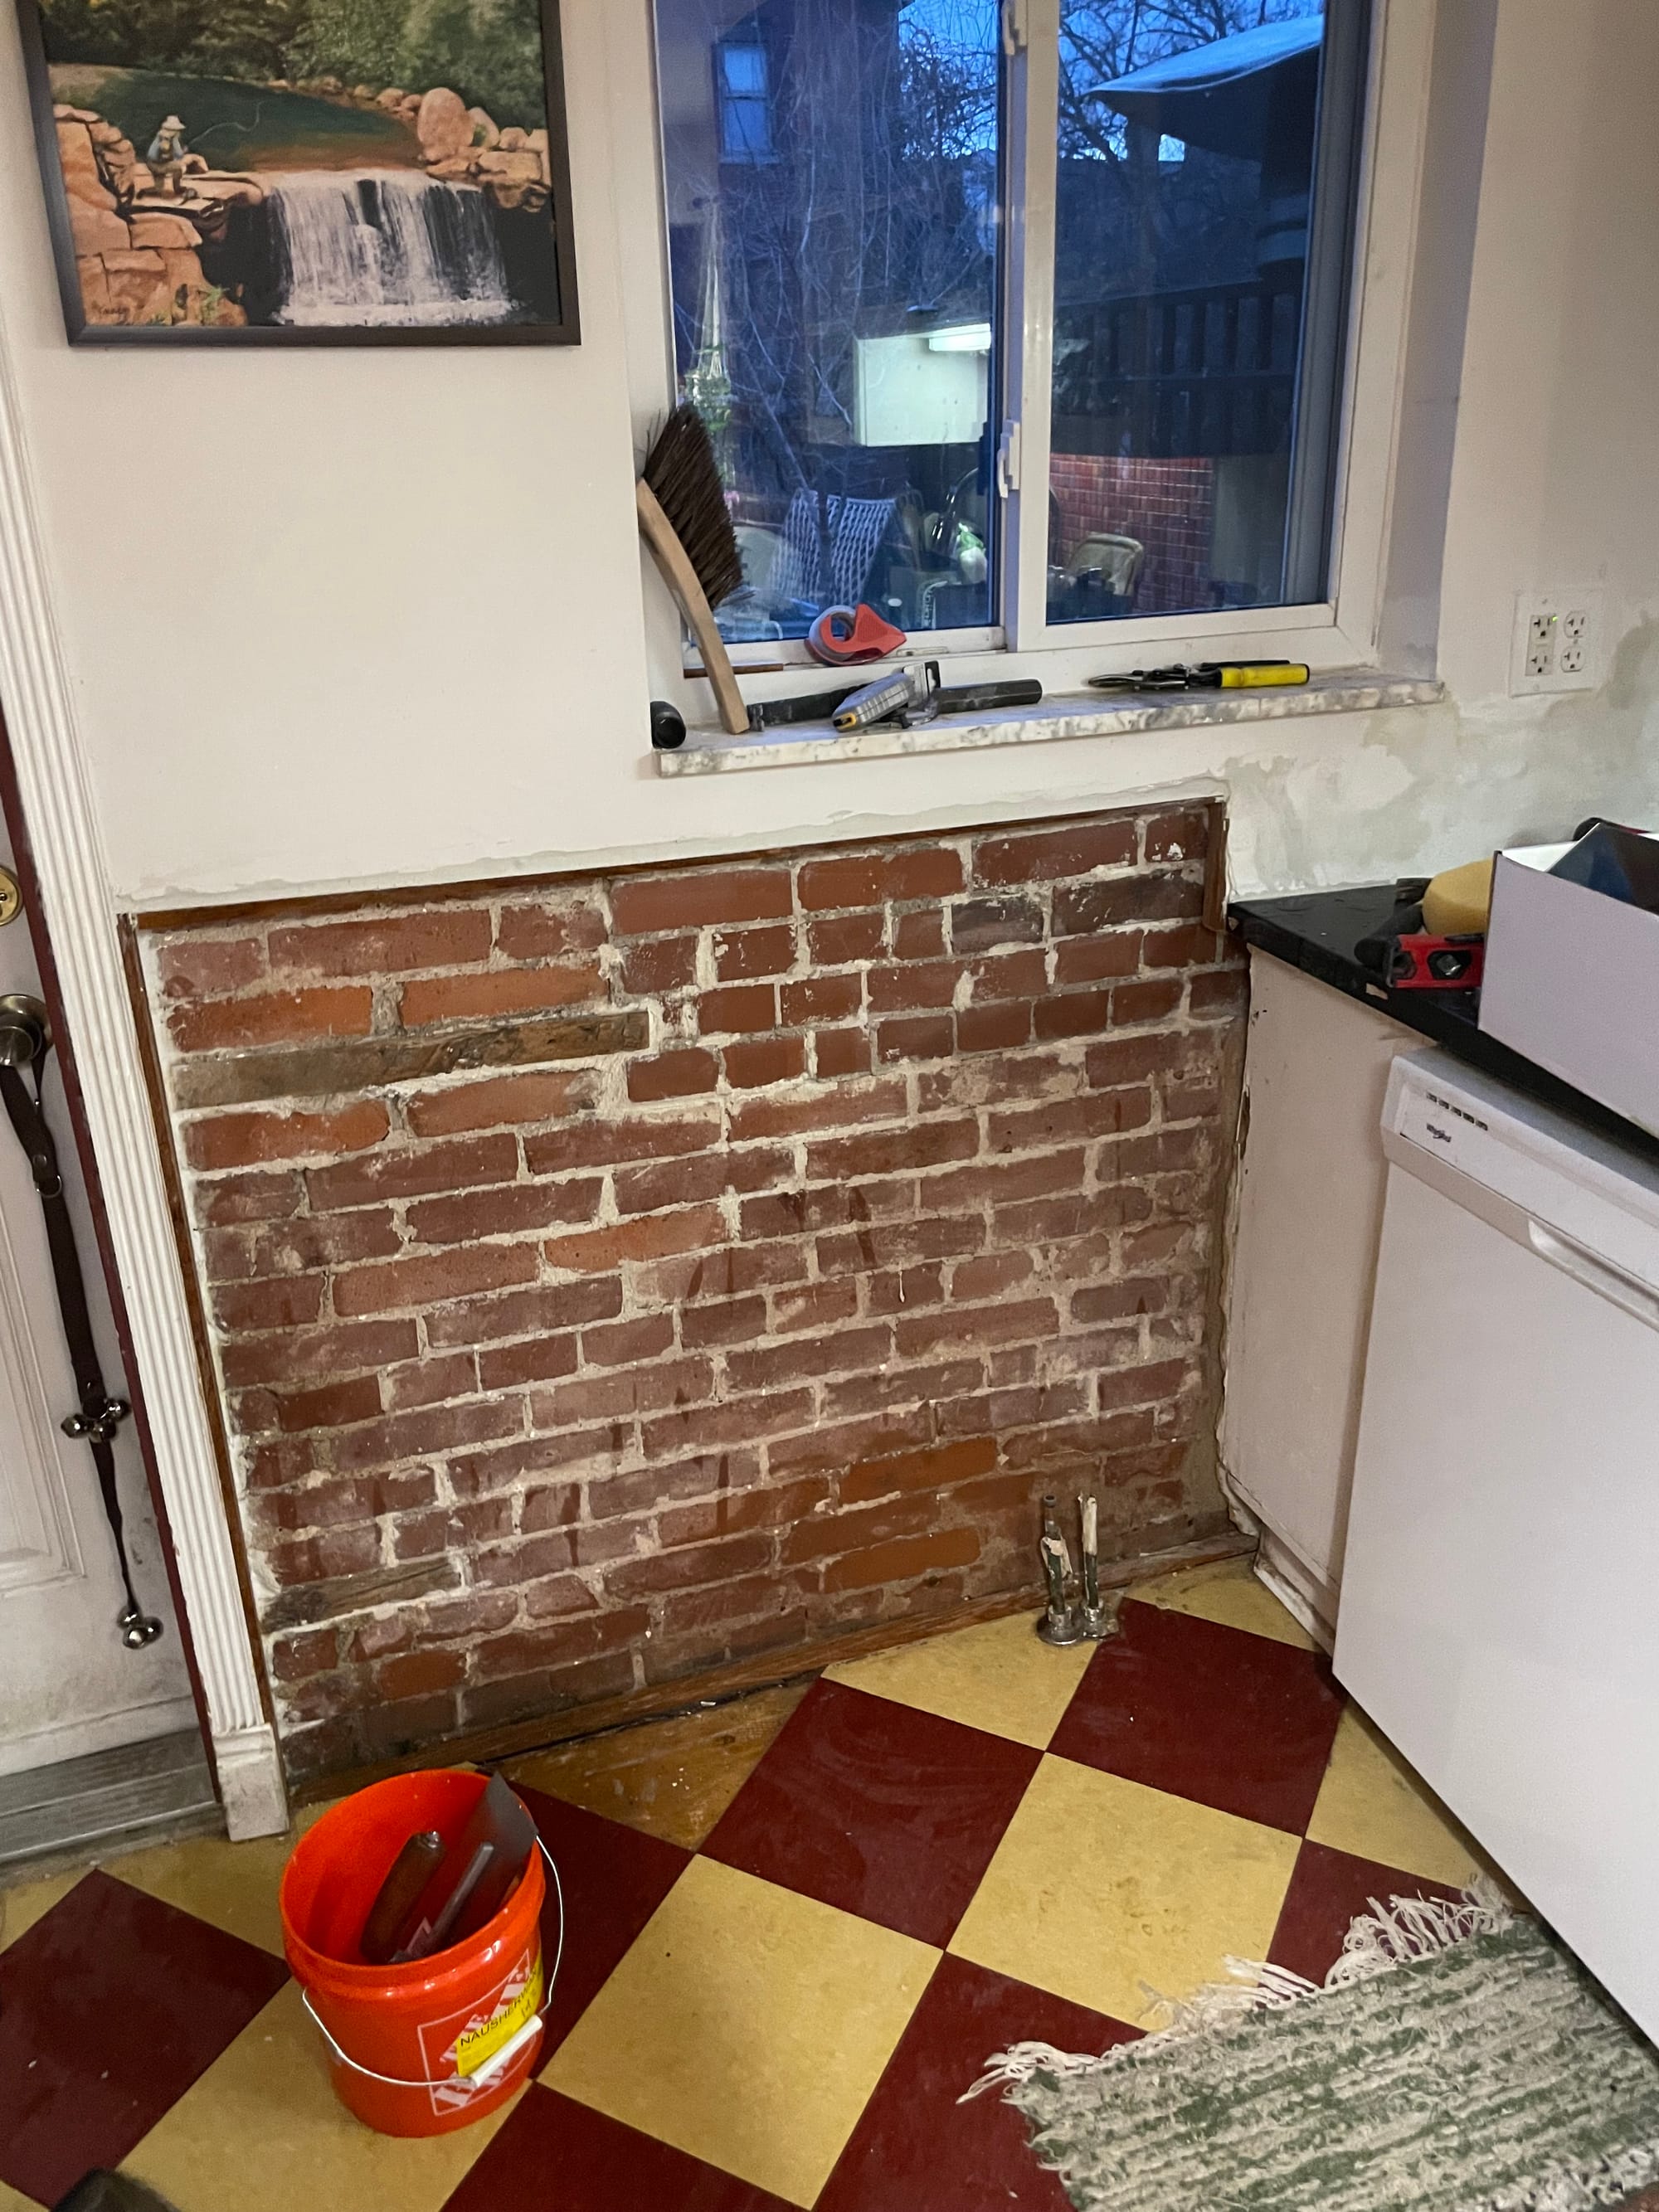
While I waited for all of the filler to dry I had decided on moving forward with a muriatic acid lime wash on the brick. I saw some online debate around this and it not being the ultra-best option but honestly didn't have the energy to get into the why of it and I was seeing really good before/after results so I thought I'd roll the dice. I did a pretty weak dilution, I think 1 part acid with 6 parts of water, and applied the test patch you see mid-bottom-left above and left it to dry up.
I mean the results speak for themselves and I quit while I was ahead after only one round of acid wash and a thorough water rinse after. I think it really brings the old brick to life and somewhat homogenizes the old mortar with the new. I think I could probably have given it a couple of more cleanings but I think this fits in with all of the other brickwork in the house i.e. old and not perfect and so I was happy to get it to this stage and see how the rest of the project would come along before attempting to ruin a good thing. I also got a pint of paint matched with an old wall sample and applied the first coat here.

Finally, I opted to add a couple of decorative trim items to bring the framing together and this was applied with a combo of nailgun finish nails and liquid nails. I have no idea how well this will hold up over time, but should be easy enough to keep up maintenance on it. The trim work on the right is getting covered up by appliances but I still wanted to give it a finished-enough look that fit in with the thick wood trim I applied.
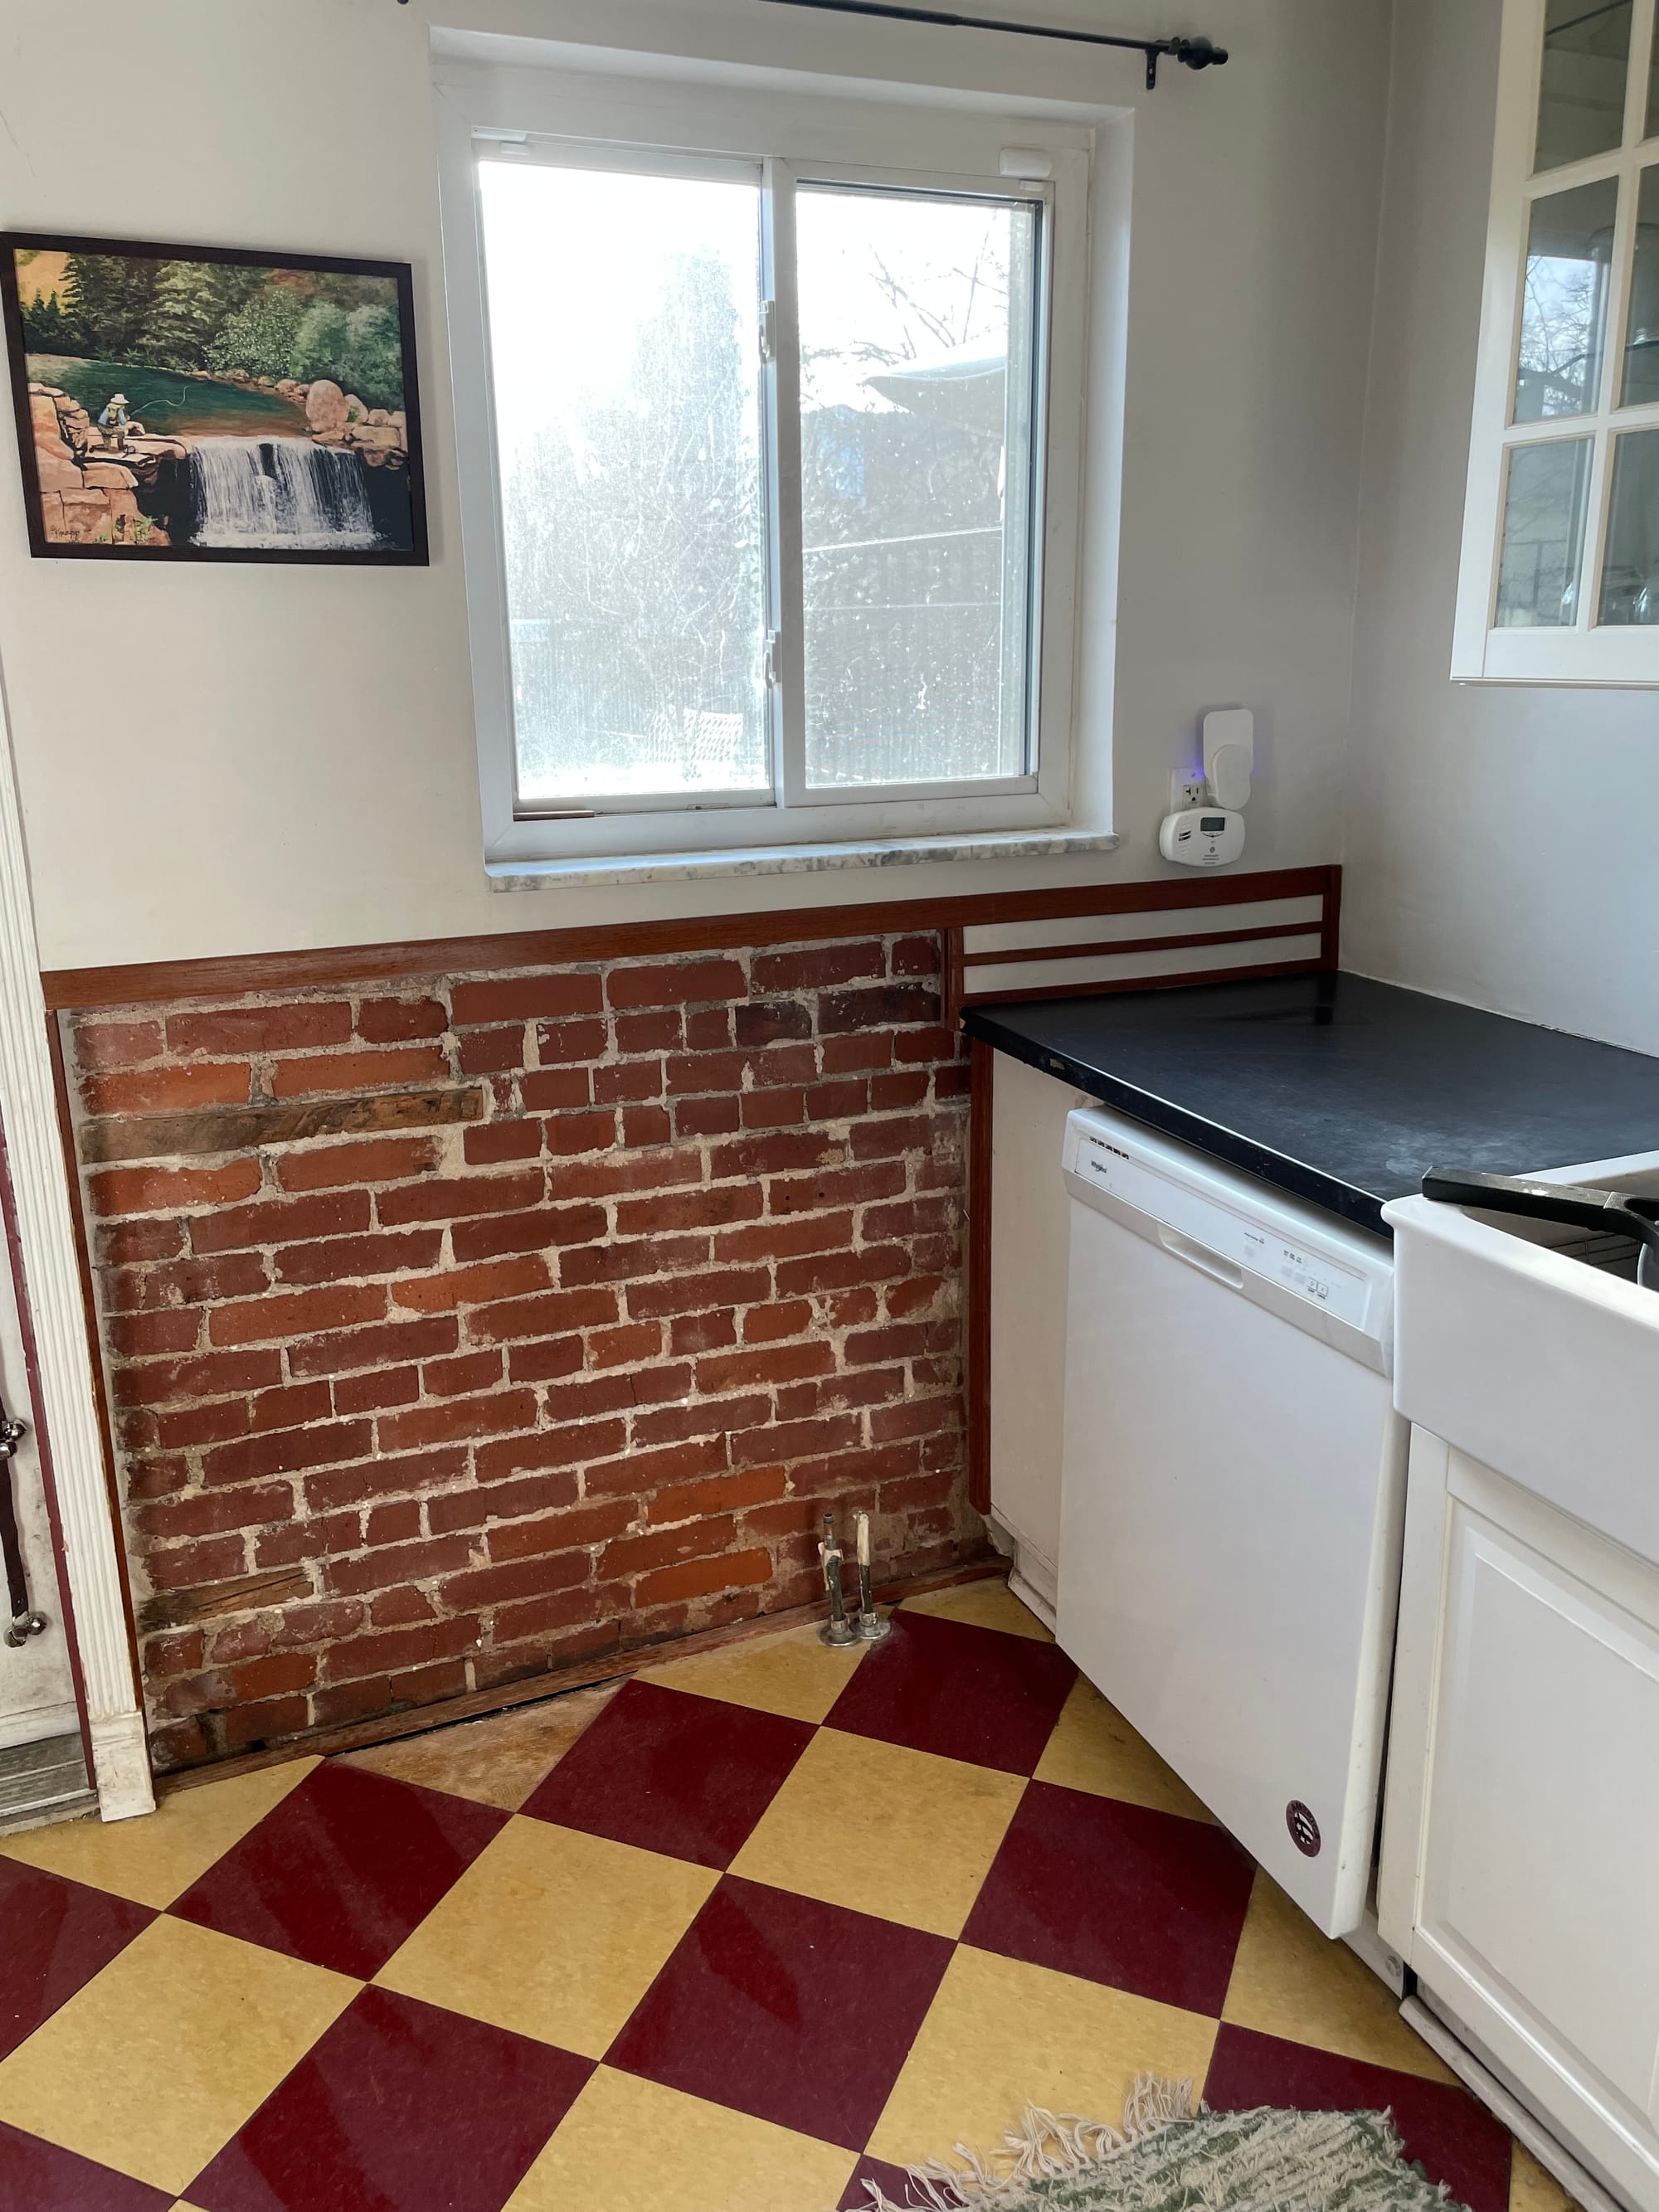
And yeah! Finished! IGNORE THE BROKEN TILE THAT IS A DIFFERENT PROJECT FOR A DIFFERENT DAY.
This project took a lot out of me and I think lasted either 2 or 3 months, wrapping up in January. I suspect it would have probably cost 5x what it did if I had gotten it done by a contractor and again I had/have low confidence that it would have turned out the way it did in the end. Maybe that's just cope. Anyway, I feel like it blends form and function well, especially if my head canon of letting the brick breathe is to be believed. Don't tell me if it isn't. So yeah get out there and tear down your walls, I had no idea what I was doing and it turned out fine! probably!