Designing and Printing My First 3D Model

My friend Jacob very very kindly gave me his old 3D printer and I've been having a blast with it. I quickly became addicted to dialing in the settings, progressed to getting decent prints and at that point any time spent not printing was time wasted. Albeit I've had to slow down lately as printing draws enough power in our old house to make the lights in my wife's office flicker - whoopsie.
The problem
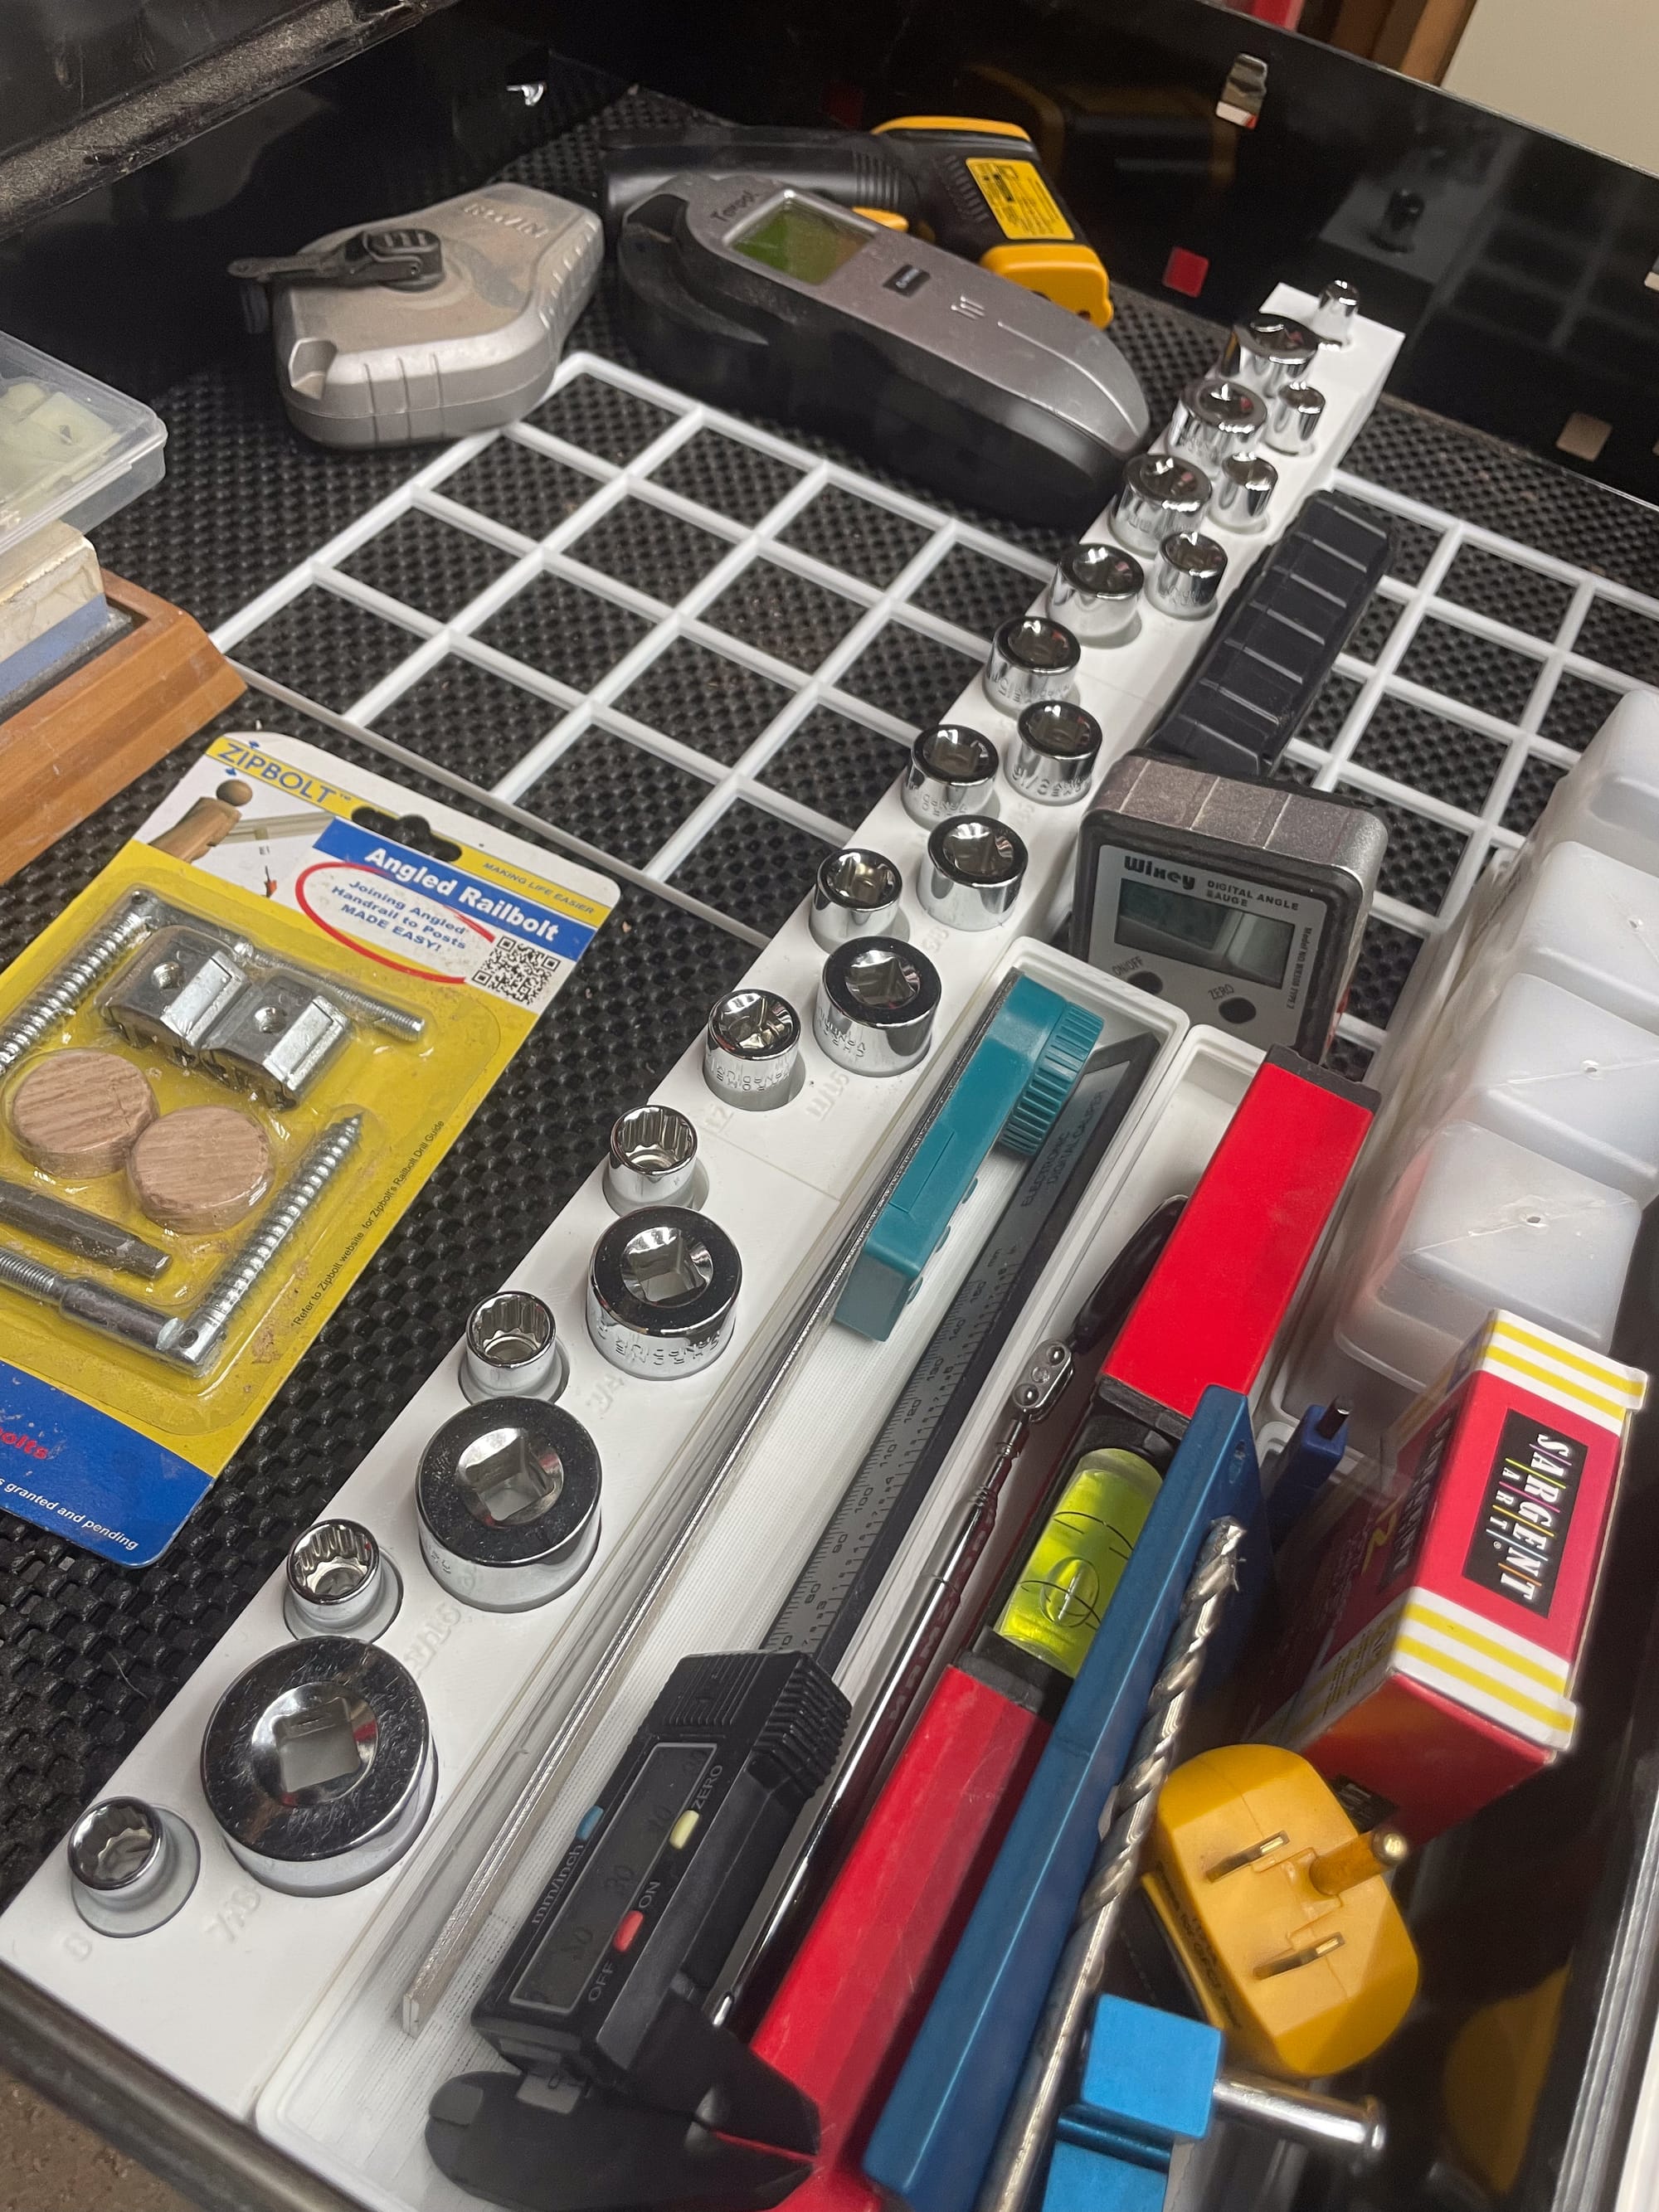
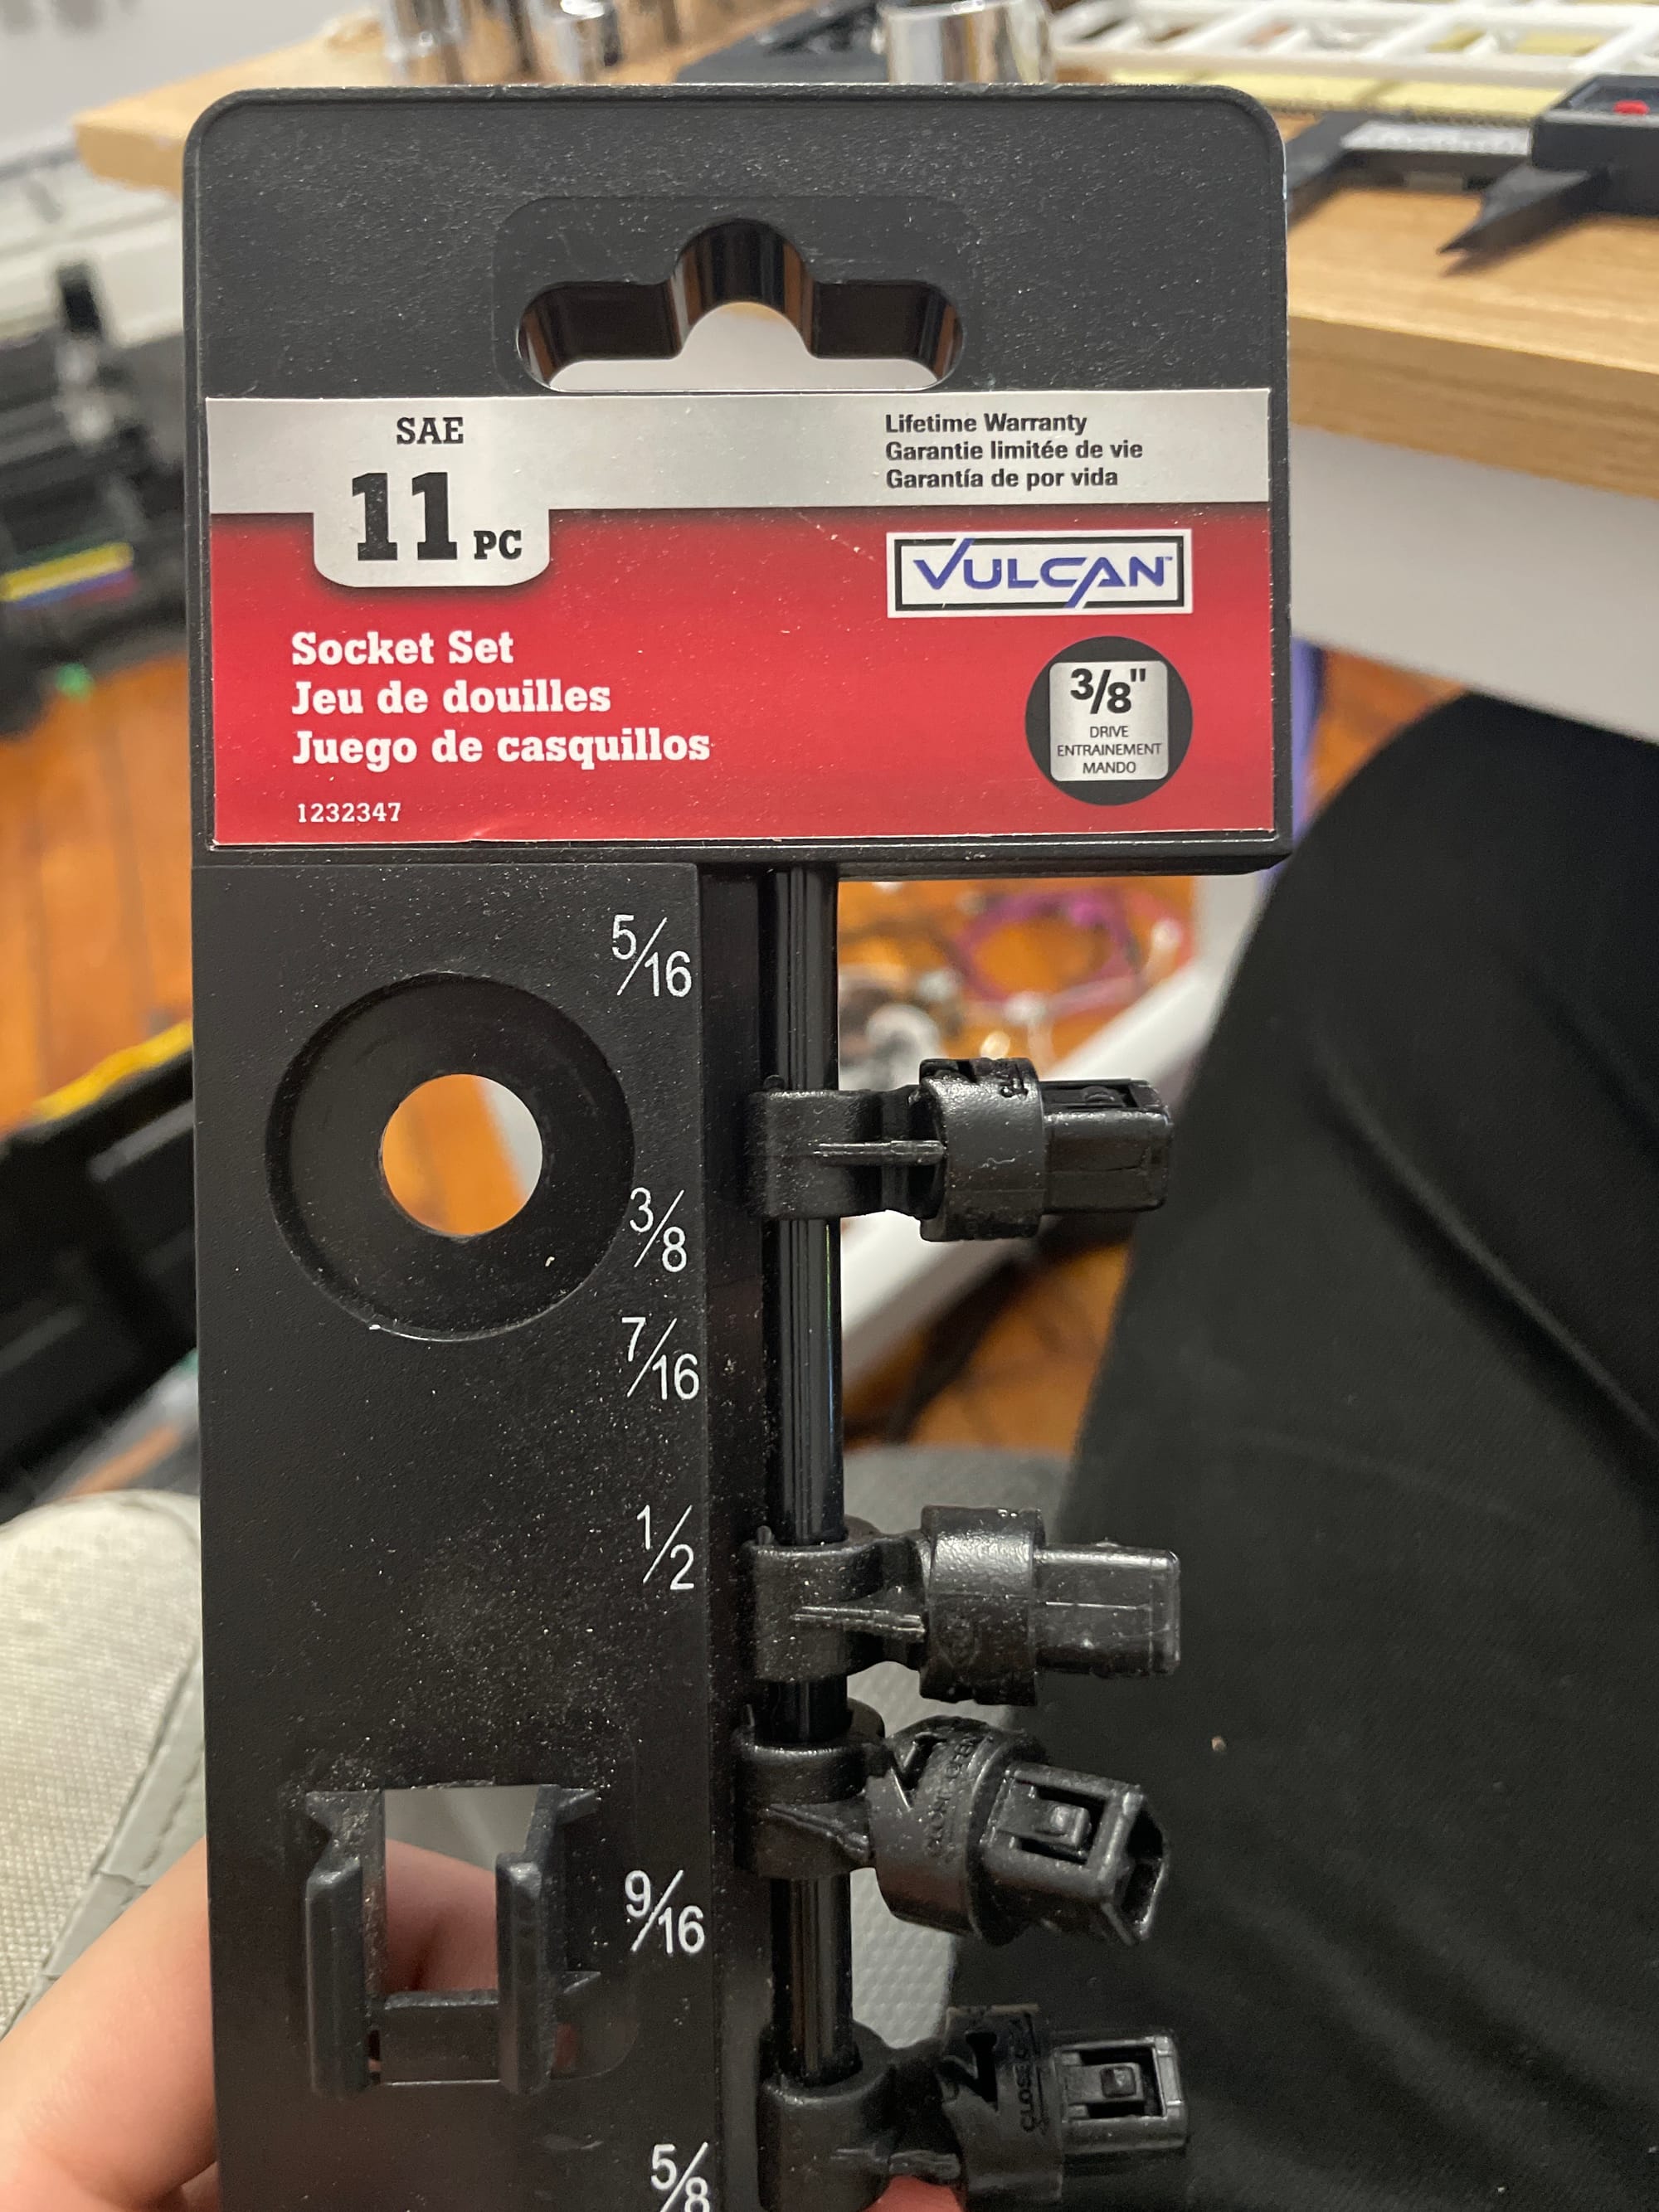
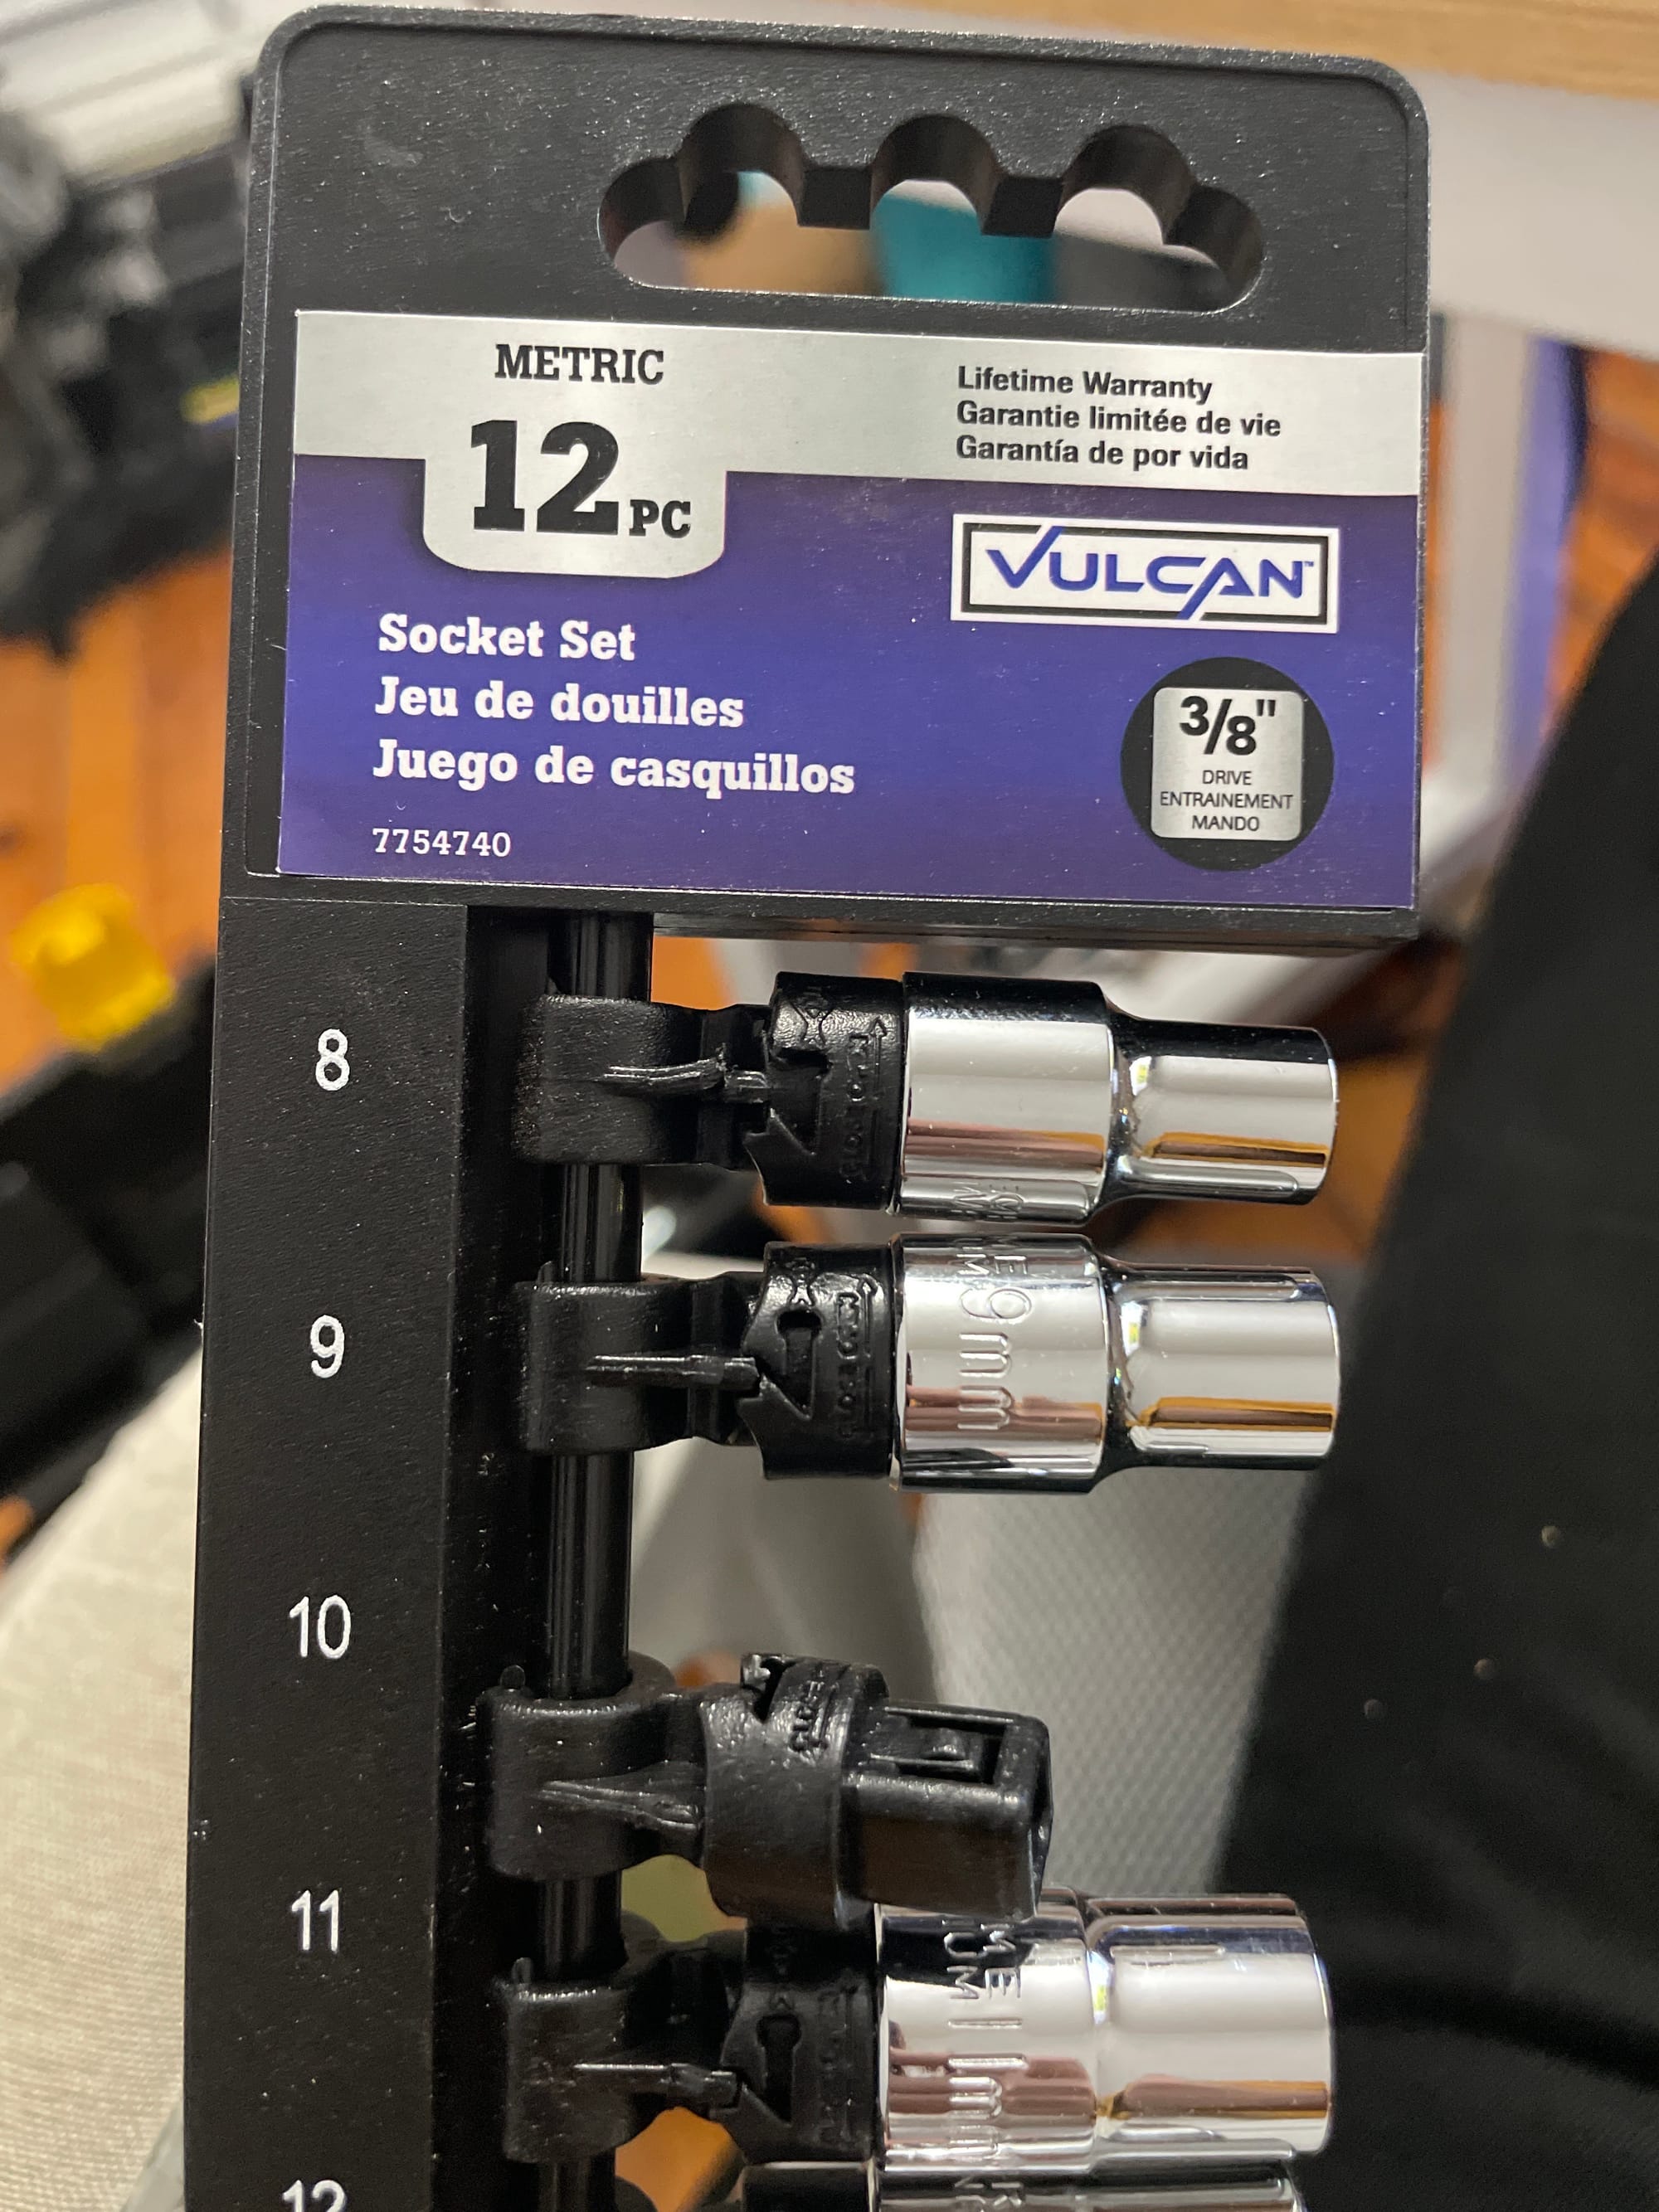
I bought these 2 sets of sockets from our local hardware store Busy Beaver and I hate these things that they come in for organization. They never work and they always break in the most frustrating way where the socket gets locked into the plastic thing so you have to jail break it out and they just suck.
I wanted to place them into my Gridfinity organization system I've been 3D printing - only one problem: I couldn't find any 3D models online that would let me support all of these not super standard socket sizes in this set while also not adding unused slots into the model for other non-standard sizes.
The Solution
I decided it was time to learn how to make my own 3D models to get a feel for how difficult it was to custom make 3D parts and unlock a new skill.
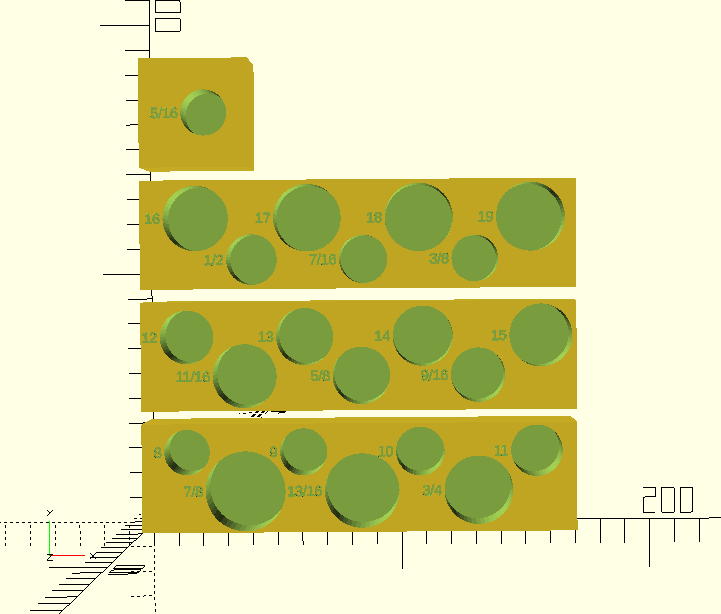
The first step for me as a programmer was trying out software called OpenSCAD recommended to me by old boss. OpenSCAD allows you to build 2D/3D models via programming statements versus having to kind of sculpt the designs in a 3D modeling program. I didn't want to actually learn the programming language of OpenSCAD and instead I just did a loop of vibe coding to get to a viable layout. Each of that parts above will fit into one 4 square row in my Gridfinity layout, which you'll see more about later.
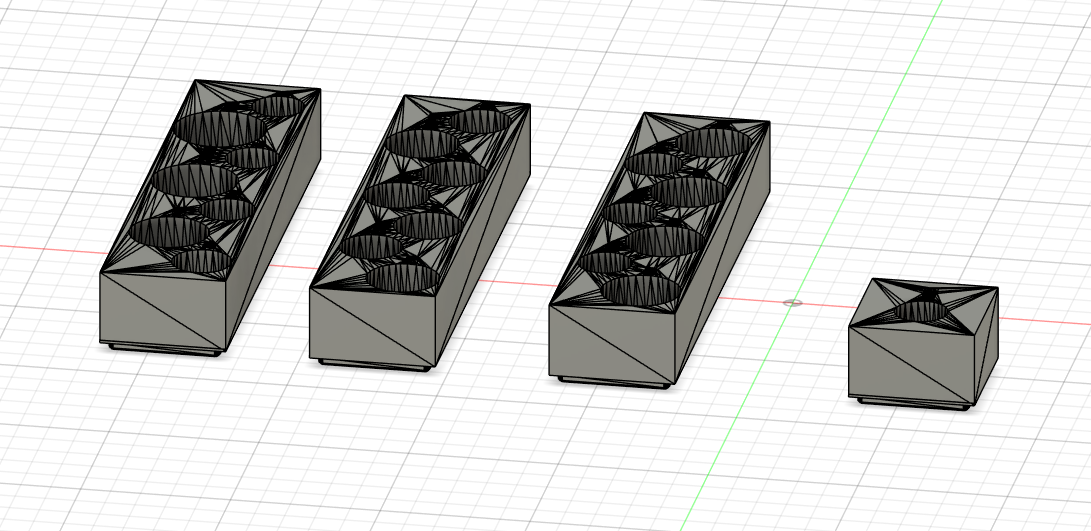
One of the problems I faced during the vibe coding via OpenSCAD was an inability for the AI tooling to figure out how to render the "feet" of the socket holders which need to be a particular shape in order to fit into the Gridfinity system properly. At some point I cut my losses iterating on this and exported the models so far to Fusion 360. I then generated a 1x4 Gridfinity container using gridfinitygenerator.com, imported it into Fusion 360 too and then chopped off the feet from the imported model, which you can see below:

You can probably see where I was going with this, and instead of mucking around with generating the feet, I just "glued" the 3D models that I had made to these feet and voila perfecto:
After that, I was able to export/import the STL files into Prusa slicer, my 3D model to 3D printer GCODE generator of choice:

and send the parts off for printing!
The Result
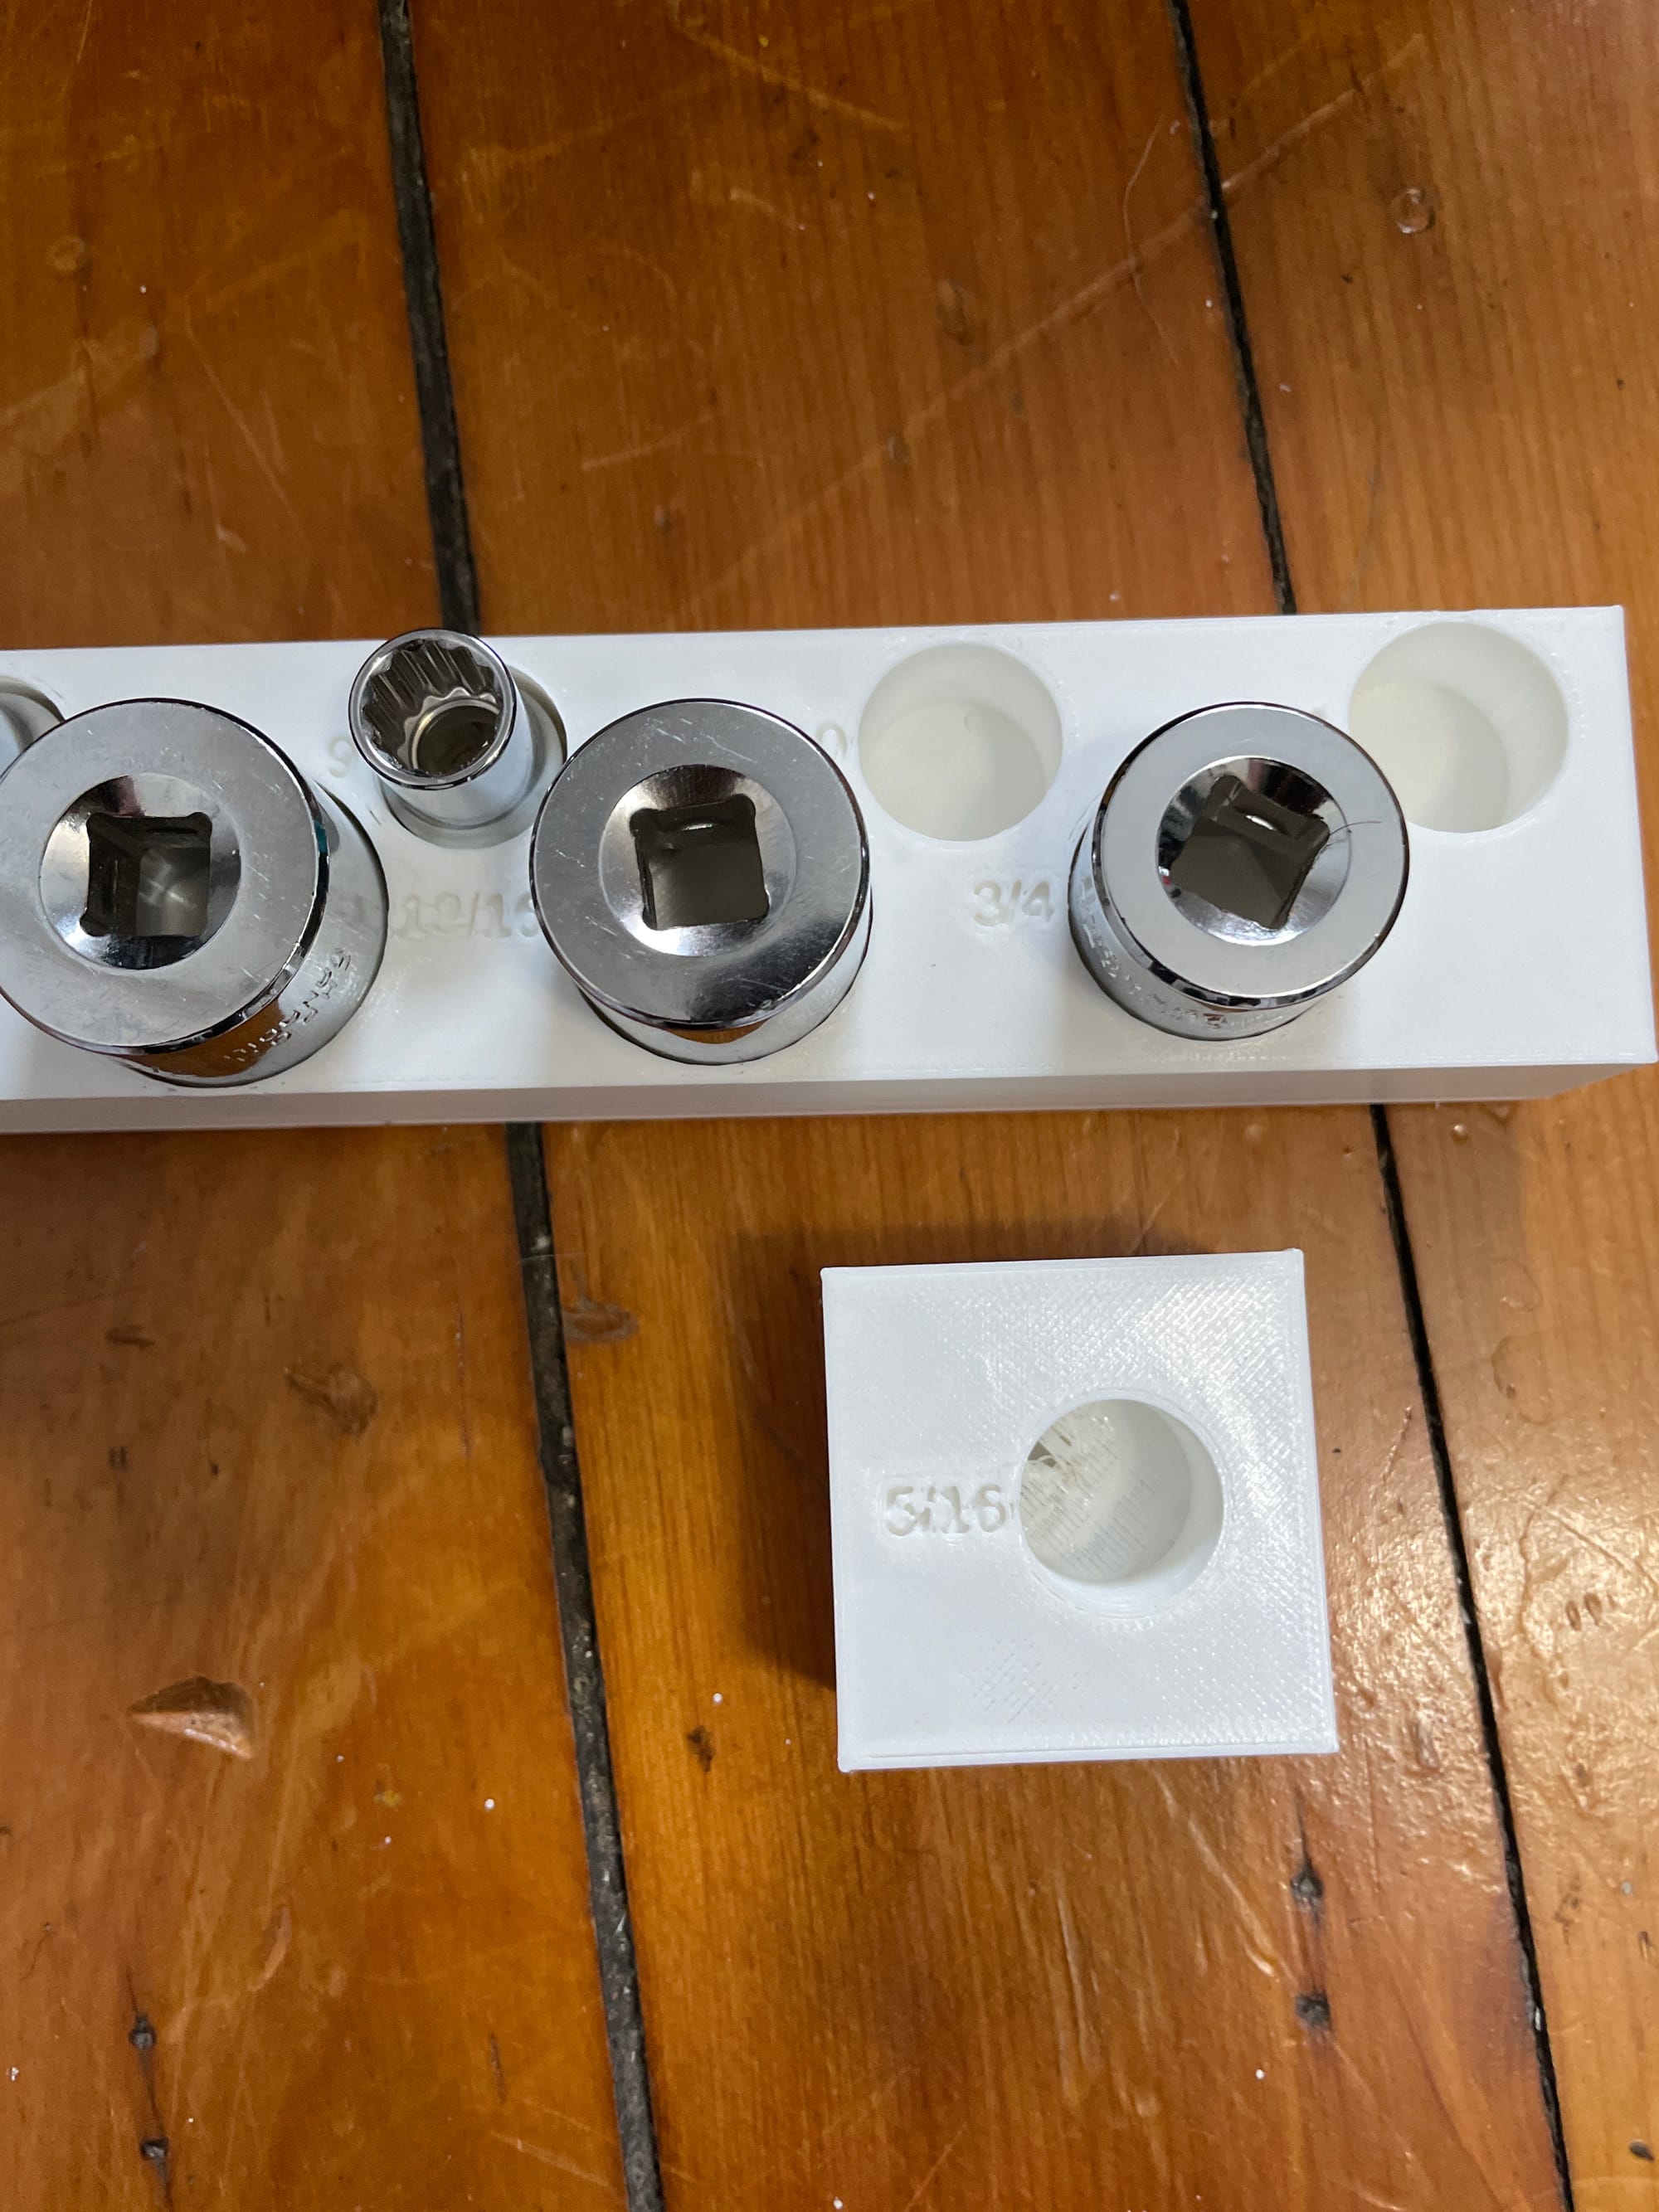
The prints came out pretty good with some minor defects that I could live with considering this part is just holding some tools in a drawer. The lettering is probably the most disappointing part but it was honestly a really tight fit to get all the labels in, you wouldn't believe it. In hindsight, maybe embossing versus debossing the lettering would have resulted in better aesthetic lettering, but maybe not.
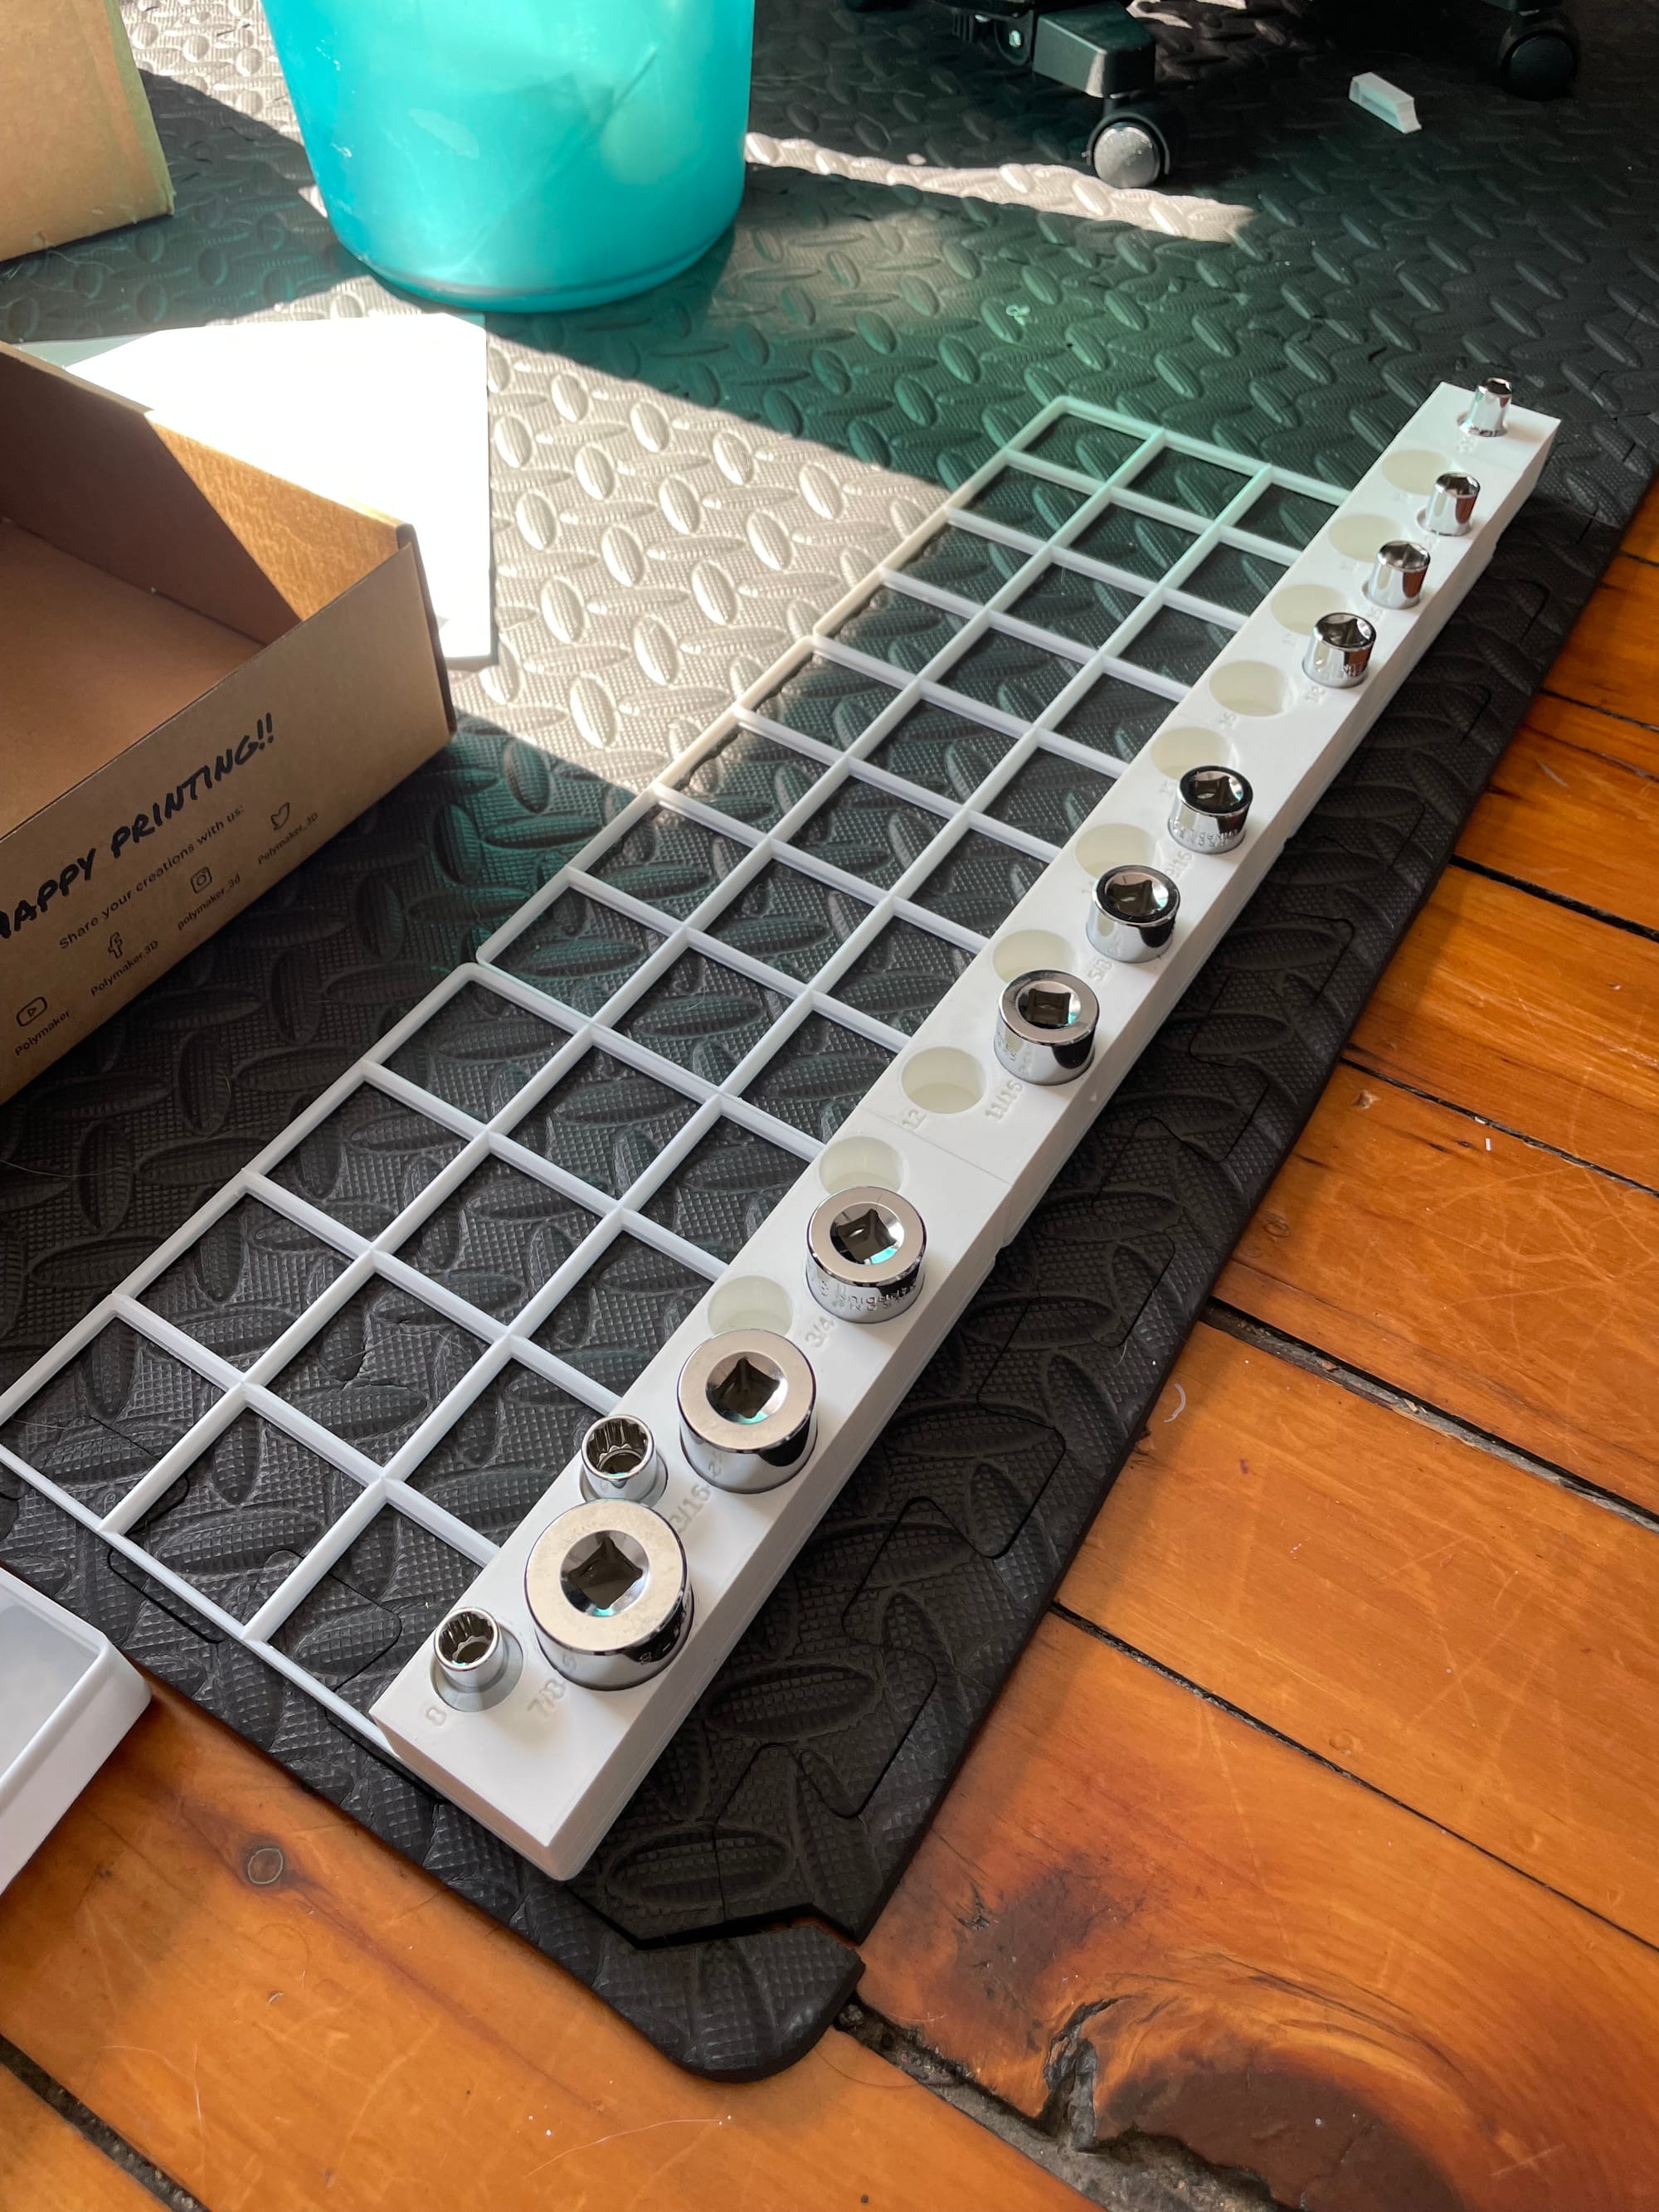
All of the parts fit nicely and meshed with the Gridfinity system well so I was pumped about that!

And here it is in all of it's glory, sequestered to a drawer that I open once a month. I'm super proud of how this turned out and how much more organized this drawer is compared to what it was before! I can confidently say that since I printed this and organized the parts, I have not once had to use any of the sockets! You win some and you lose some, thems the breaks.
Thanks for reading if you made it this far!!!